

Introduction: In this tutorial, we will walk you through the steps to view the database of Contact Form 7 submissions. By installing the Contact Form 7 Database plugin and following the instructions below, you can easily access and manage the information submitted through your contact form. Let’s get started!
You can also watch the video tutorial:
Having said that, let’s move on to the steps on How To View a Database In Contact Form 7 In WordPress.
Step 1: Install the Contact Form 7 Database Plugin To begin, you need to install the “Contact Form 7 Database” plugin. This plugin extends the functionality of Contact Form 7 by storing the form submissions in a database. Search for the plugin in the WordPress Plugin Directory, install and activate it.
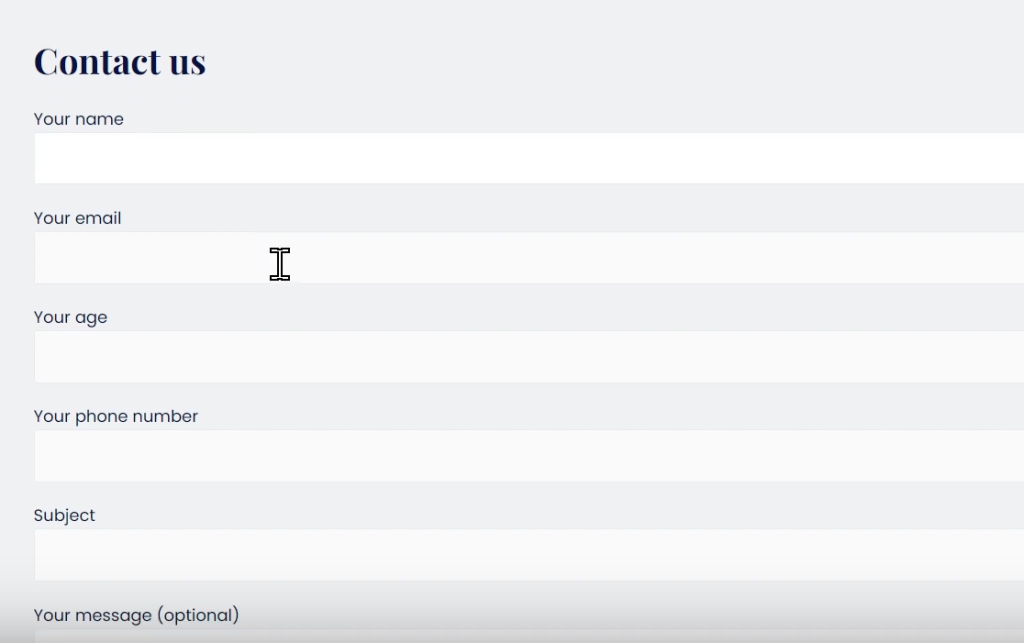
Step 2: Create and Submit a Test Entry Assuming you already have a contact form set up using the Contact Form 7 plugin, submit a test entry by filling in all the required fields and clicking the submit button. This will populate the database with a sample submission for testing purposes.
Step 3: Access the Database Page Navigate back to the WordPress dashboard. In the sidebar menu, locate the “Contact” section and hover over it. A sub-menu will appear, and you should click on “Database.” This will take you to the database page specifically designed for Contact Form 7.

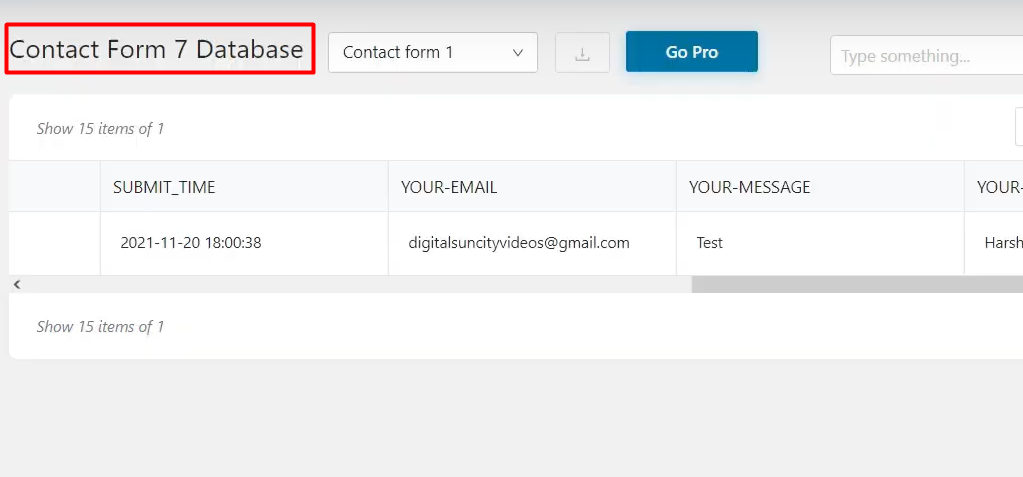
Step 4: View Submissions in the Database On the database page, you will find a list of submissions stored in the database. Each submission represents a form entry made through Contact Form 7. To view the details of a particular submission, use the provided buttons, such as “View” and “Edit.” These buttons allow you to access and review the information submitted by users.
Step 5: Customize Database Settings To customize the database table settings, click on the “Table Settings” tab. Here, you have the option to enable or disable specific fields based on your requirements. You can also find other related settings that allow you to tailor the database functionality to your needs.

Step 6: Save Your Settings After making the necessary changes to the table settings, click on the “Save” button to save your settings. If you want to modify the column names, you can do so under the “Column Settings” tab. This allows you to rename the columns according to your preferences. Don’t forget to save the changes after renaming the columns.

Step 7: Customize Display and Hide Columns (Optional) If there are any columns you prefer to hide from the database view, you can do so by using the column settings. This allows you to customize the display of information based on your needs. Adjust the column settings as desired, and remember to save your changes.
Conclusion: By following these steps, you can easily view the database of Contact Form 7 submissions and access the information collected through your contact form. The Contact Form 7 Database plugin provides a convenient way to manage, review, and customize the data collected from your website’s visitors.

0 Comments