

In this tutorial, we will demonstrate how to use the Elementor gallery widget to create stunning image galleries on your WordPress website. Follow the steps below to create an Elementor gallery.
You can also watch the video tutorial:
Having said that, let’s move on to the steps on How To Use Elementor Gallery In WordPress.
Step 1: Create a Blank Page
Begin by creating a new blank page in Elementor. You can access the page editor by logging into your WordPress admin dashboard and navigating to “Pages” > “Add New.”

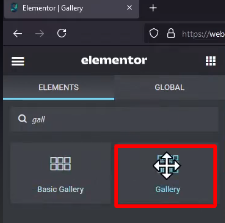
Step 2: Add the Gallery Widget
In the Elementor editor, search for the “Gallery” widget in the widget panel on the left side. Drag and drop the gallery widget onto the page builder canvas.
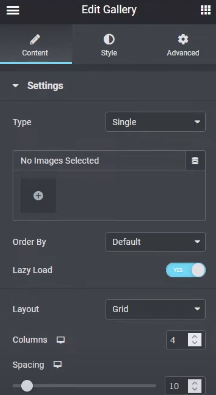
Step 3: Configure Gallery Settings
Once the gallery widget is added, you will see various gallery-related settings. Choose the desired gallery type from the available options. If you want to showcase multiple galleries for different products or categories, you can do so by creating separate gallery instances.
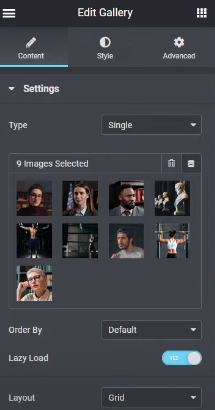
Step 4: Add Images to the Gallery
Select or upload the images you want to include in the Elementor gallery. You can choose images from your media library or upload new ones. Click on “Create New Gallery” after selecting the images.
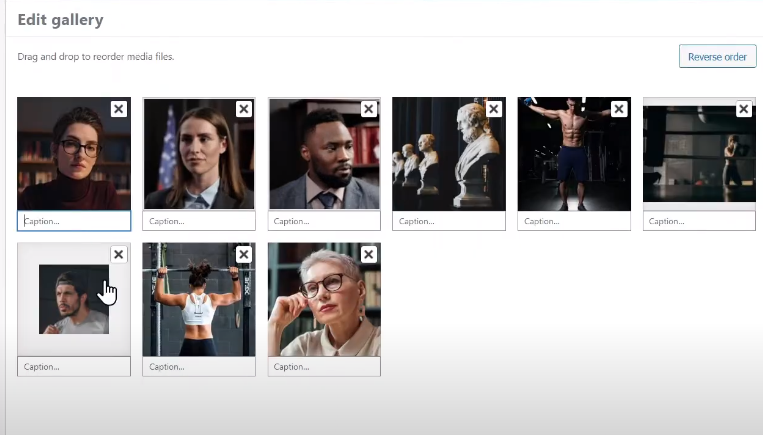
Step 5: Add Captions (Optional)
If desired, you can add captions to each image individually. This allows you to provide additional information or descriptions for the images. Simply add the captions to each image and click on “Insert Gallery” when finished.
Step 6: Customize Gallery Layout
You can customize the gallery layout according to your preferences. Adjust the image order, select the number of columns, and modify other layout settings as needed. You can preview the changes in real-time as you make adjustments.
Step 7: Add Image Overlay (Optional)
To enhance the gallery’s visual appeal, you can set an overlay effect on the images. Expand the “Overlay” tab and choose whether to display the title, caption, or description as an overlay. This adds a stylish effect when hovering over the images.
Step 8: Update the Page
Once you are satisfied with the gallery settings and customization, click on the “Update” button to save the changes.
Step 9: Preview the Gallery
To see the gallery in action, view the page on the front end of your website. You will be able to see the Elementor gallery with the selected images, captions (if added), and any overlay effects applied.

By following these steps, you can easily create and customize image galleries using the Elementor gallery widget. This allows you to showcase your images in a visually appealing and organized manner, adding a professional touch to your website.
If you have any further questions or need additional assistance, feel free to ask.

0 Comments