

Customizing the submit button of your Ninja Forms can help you create a cohesive design and enhance the user experience. In this tutorial, we will guide you through the process of customizing the submit button using the Styler for Ninja Forms plugin. By following these steps, you can easily style the submit button according to your preferences and ensure it aligns with the overall design and theme of your website.
You can also watch the video tutorial:
Having said that, let’s move on to the steps on How To Style Your Ninja Form’s Submit Button In WordPress.
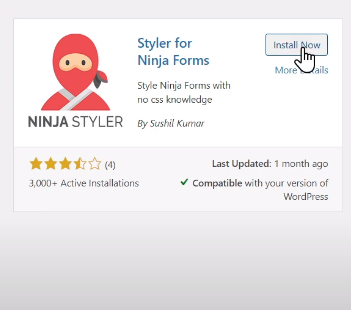
Step 1: Install the Plugin
- Hover over the “Plugins” option in your WordPress dashboard and click on “Add New.”
- In the search bar, type “Styler for Ninja Forms” and press enter.
- Locate the plugin in the search results and click on “Install Now.”
- After the installation is complete, click on “Activate” to activate the plugin.
Step 2: Access the Styler for Ninja Forms Settings
- Hover over the “Ninja Forms” option in your WordPress dashboard and click on “Dashboard.”
- Select the form for which you want to customize the submit button.
Step 3: Customize the Submit Button
- Return to the WordPress dashboard and hover over “Appearance” and click on “Customize.”
- In the sidebar, you will find the “Ninja Form Styler” option. Click on it.
- Select the appropriate Ninja Form from the list to proceed.

Step 4: Modify the Submit Button Styling
- In the Ninja Form Styler settings, locate the option for customizing the submit button and click on it.
- Here, you can customize various aspects of the submit button, such as width, height, font size, and button colors.
- Adjust the settings according to your desired styling preferences.

Step 5: Preview and Save the Changes
- As you make modifications, you will see a live preview of the submit button’s appearance.
- Once you are satisfied with the styling changes, click on the “Save & Publish” button to apply the customizations to your Ninja Form.
Conclusion: By following the steps outlined in this tutorial, you can easily customize the submit button of your Ninja Forms using the Styler for Ninja Forms plugin. This allows you to style the button according to your preferences, ensuring it complements the overall design and theme of your website. Remember to experiment with different settings to achieve the desired style for your submit button. The live preview feature helps you visualize the changes in real-time, ensuring you achieve the desired result. We hope this tutorial helps you enhance the appearance of your Ninja Forms and improve the user experience.

0 Comments