

In this tutorial, we will guide you through the process of customizing the text on a form submit button in WordPress. By personalizing the submit button text, you can create a more user-friendly and tailored experience for your website visitors. Follow the steps below to customize the submit button text on your forms.
You can also watch the video tutorial:
Having said that, let’s move on to the steps on How To Style or Customize Form’s Submit Button In WordPress Using Gravity Forms.
Step 1: Create a Form
- Access your WordPress dashboard and navigate to the “Forms” tab in the sidebar.
- Click on “Add New” to create a new form.
- Provide a title for your form and add a description if needed.
- Click on “Create Form” to proceed.

Step 2: Add Fields to the Form
- In the form builder area, you can add various fields to your form as per your requirements.
- When you add fields like an email field, the submit button will automatically appear on the form.

Step 3: Edit the Submit Button Text
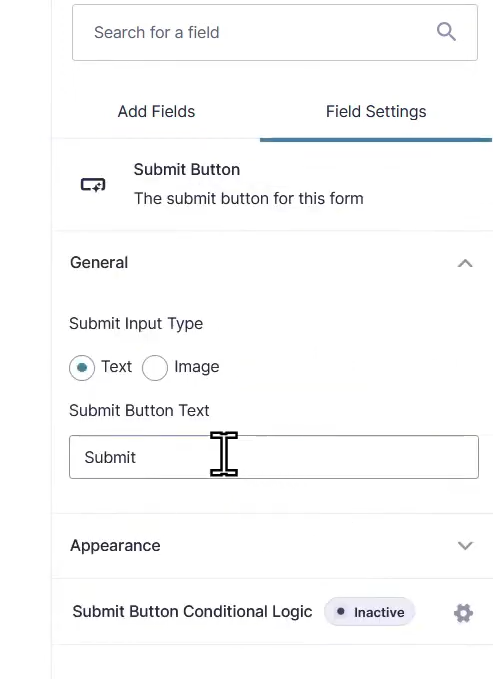
- To customize the text on the form submit button, locate the button itself in the form builder.
- Click on the button to access its settings and options.
- Look for the “Submit Button Text” option.
- Rewrite the button text according to your preference.
- For example, you can change it to “Submit,” “Send,” or any other text that suits your form’s purpose.
Step 4: Save the Form
- Once you have edited the submit button text, click on the “Save” button to save the changes made to the form.
- This will ensure that your customized submit button text is retained.
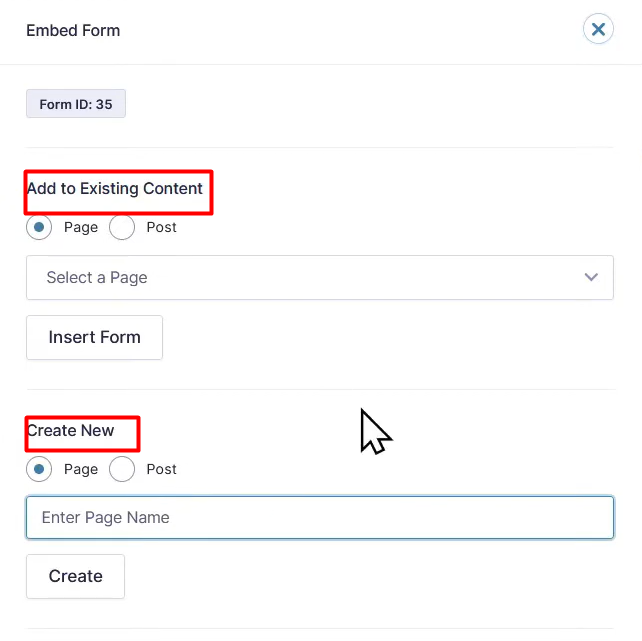
Step 5: Embed the Form
- You have the option to add this form to an existing page by selecting the page from the dropdown menu in the form editor.
- Alternatively, you can create a new page or post specifically to embed the form.
- Provide a title for the page and click on “Create” or “Publish” to proceed.
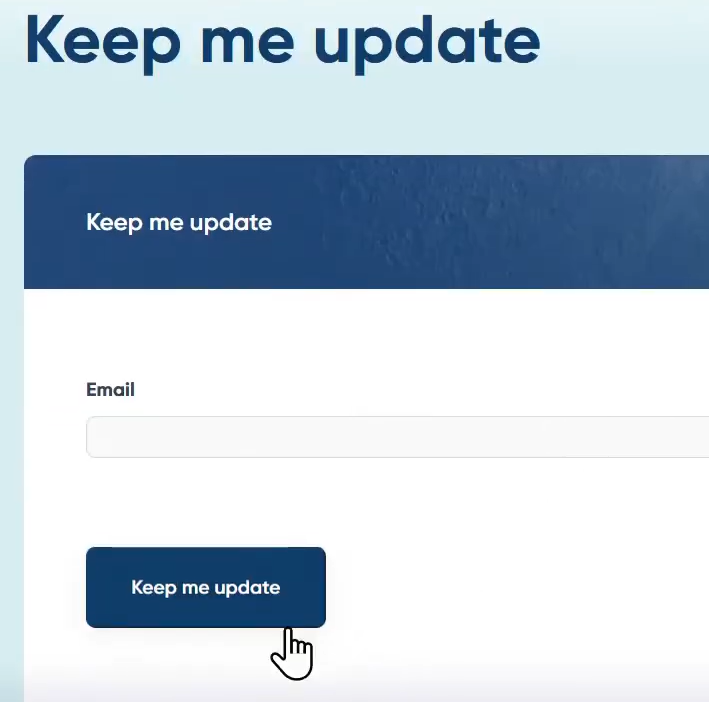
Step 6: View the Form
- Now, you can view the form on the front end of your website.
- Access the page where you embedded the form to see the changes.
- Notice that the submit button text has been customized according to your changes.
Conclusion: Congratulations! You have successfully customized the text on a form submit button in WordPress. By following the steps outlined in this tutorial, you can tailor the submit button text to match the purpose and tone of your form. Remember that you can modify the text anytime by editing the form and adjusting the submit button text option.

0 Comments