

In this tutorial, we will guide you through the process of setting up a message filter for Contact Form 7 in WordPress. By implementing a message filter, you can prevent certain words or phrases from being submitted through your contact form. This helps you maintain better control over the messages received and ensures the integrity of your form submissions. Let’s get started with the tutorial.
You can also watch the video tutorial:
Having said that, let’s move on to the steps on How To Set Up a Message Filter For Contact Form 7 In WordPress
Step 1: Installing the Required Plugins
- Go to your WordPress dashboard and navigate to the “Plugins” section in the sidebar.
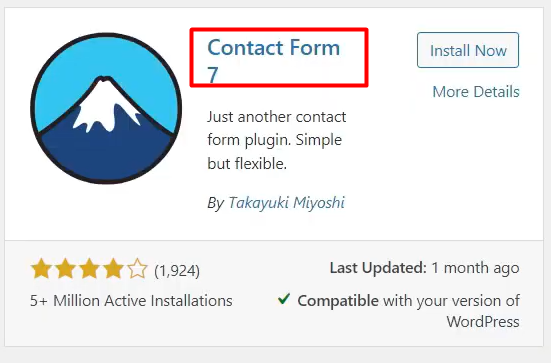
- Click on “Add New” and search for the “Contact Form 7” plugin.
- Install and activate the Contact Form 7 plugin.
- Next, click on “Add New” again to install another plugin.
- Search for the “Message Filter” plugin, install it, and activate it.
Step 2: Configuring the Message Filter Settings
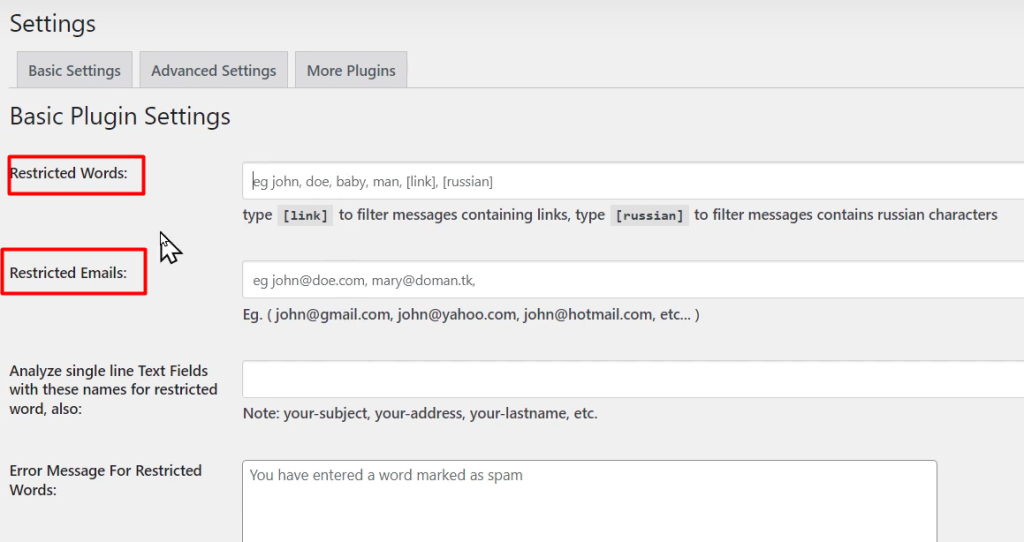
- In the WordPress dashboard, locate the “CF7 Form Filter” option in the sidebar and click on it.
- Click on “Settings” to access the plugin’s configuration page.
- On the settings page, you can add restricted words or phrases that you want to filter from the submitted messages.
- Additionally, you can restrict email addresses and set a custom error message for users who attempt to submit restricted words.
- Make sure to check the box beside “Enable Message Filter” to activate the filter.
- Once you have configured the settings, click on “Save” to save your changes.
Step 3: Adding the Contact Form to a Page
- Assuming you have already created a contact form using the Contact Form 7 plugin, copy the shortcode for the form from the Contact Form 7 settings.
- Navigate to the “Pages” section in the WordPress dashboard sidebar and click on “Add New.”
- Provide a title for your page and paste the contact form shortcode into the page content.
- Click on “Publish” to publish the page.

Step 4: Testing the Message Filter
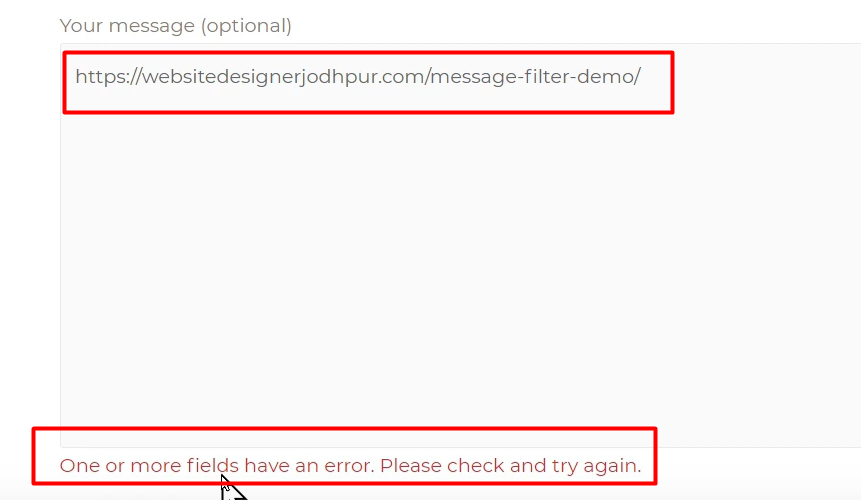
- To test the message filter, fill in the form fields on the published page.
- Submit the form with a message that contains any of the restricted words.
- If the submission includes restricted words, you will see an error message indicating that the submission is blocked.
- However, the form entry will still be visible to the admin.
Step 5: Checking Blocked Messages
- To review the blocked messages, return to the WordPress dashboard.
- Hover over “CF7 Form Filter” in the sidebar and click on “Blocked Messages.”
- Select the form from the list and click on the respective button to view the blocked form entries.

Conclusion: By following this tutorial, you have successfully set up a message filter for Contact Form 7 in WordPress. With the message filter enabled, you can prevent the submission of messages containing restricted words or phrases through your contact form. This provides better control over the messages received and helps maintain the integrity of your form submissions. Implementing a message filter is a simple yet effective way to enhance the functionality of your contact forms and improve the user experience on your website.

0 Comments