

In this informative and exciting video tutorial, we will guide you on how to redirect users to a specific page after they have submitted a form using Ninja Forms. By implementing this functionality, you can provide users with a personalized experience and direct them to relevant content. Whether it’s a thank you page or any other page of your choice, Ninja Forms makes it easy to redirect users after form submission. Let’s dive into the step-by-step process.
You can also watch the video tutorial:
Having said that, let’s move on to the steps on How to Redirect Users to a Specific Page in WordPress with Ninja Forms.
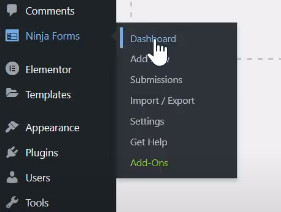
Step 1: Access Ninja Forms Dashboard
- Log in to your WordPress admin dashboard.
- Hover over “Ninja Forms” in the left-hand menu and click on “Dashboard.”
Step 2: Add Redirect Action
- Select the form to which you want to add the redirect action. You can choose an existing form or create a new one.
- Click on the “Emails & Actions” tab for the selected form.

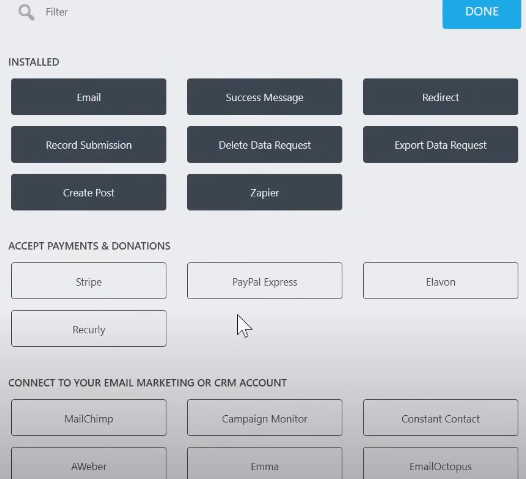
Step 3: Add a New Action
- To add the redirect action, click on the plus icon (+) to create a new action.
- From the list of available actions, choose the “Redirect” action.
- Optionally, you can rename the redirect action to make it more descriptive.
Step 4: Specify the Redirect URL
- In the URL field, enter the URL of the page or site where you want to redirect users after they submit the form.
- Double-check that the URL is correctly formatted to avoid any potential 404 errors.

Step 5: Publish the Form
- Once you have configured the redirect action and specified the URL, click on the “Publish” button to save the form.

Step 6: Preview the Form
- To test the redirect action, click on the “Preview” button to view the form.
- Fill out the form with test data and submit it.

Step 7: Experience the Redirect
- After submitting the form, observe how you are automatically redirected to the specified page. In this example, users will be redirected to the home page of your website.

Conclusion: By following these straightforward steps, you can easily redirect users to a specific page after form submission using Ninja Forms. This feature allows you to guide users to relevant content, display a customized message, or create a seamless user experience. Explore different redirect destinations based on your specific requirements, such as thank you pages, landing pages, or any other relevant pages.
Now you have the knowledge to implement the redirect action in your forms using Ninja Forms. Feel free to apply this feature and enjoy creating seamless user experiences by guiding users to valuable content. We hope you found this amazing video tutorial helpful and are excited to incorporate this functionality into your forms.

0 Comments