
Robots.txt file shows search engines how one can crawl your entire site which automatically turns it into an extremely strong SEO tool. In this entire article, we’ll teach you how to exactly create the perfect robot.txt file all for SEO.
You can also watch the video tutorial:
What is Robots.txt file?
Robots.txt is a text file which site owners can use to instruct search engine bots on how to exactly crawl and even index their site’s pages.
It is ordinarily put away in the root directory, otherwise called the main folder, of your site. The fundamental organisation for a robots.txt record seems to be this:
User-agent: [user-agent name]
Disallow: [URL string not to be crawled]
User-agent: [user-agent name]
Allow: [URL string to be crawled]
Sitemap: [URL of your XML Sitemap]
You can add multiple sitemaps and have different layers of instructions to permit or prohibit specific URLs. If you ever do not really disallow a URL, search engine bots will assume that it is safe to crawl.
The following is an example of a robots.txt file:
User-Agent: *
Allow: /wp-content/uploads/
Disallow: /wp-content/plugins/
Disallow: /wp-admin/
Sitemap: https://example.com/sitemap_index.xml
In the above robots.txt model, we have permitted web search tools to crawl and record documents in our WordPress uploads folder.
After that, search bots have been disallowed from crawling and indexing plugins and WordPress admin folders.
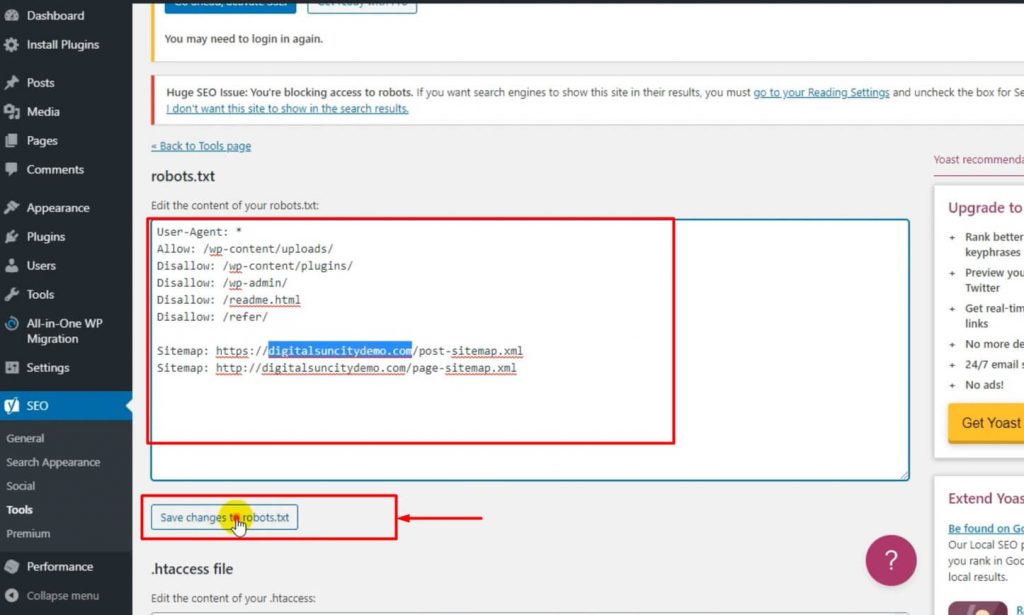
An Ideal Robots.txt File
Usually, popular blogs use a simple robots.txt file. The content, though, may vary depending on the certain needs of the site:
User-agent: *
Disallow:
Sitemap: http://www.example.com/post-sitemap.xml
Sitemap: http://www.example.com/page-sitemap.xml
This robots.txt file permits all bots for indexing all content and provides them a link to the XML sitemaps of the website.
It is recommended to use the following rules in the robots.txt file for WordPress sites:
User-Agent: *
Allow: /wp-content/uploads/
Disallow: /wp-admin/
Disallow: /readme.html
Disallow: /refer/
Sitemap: http://www.example.com/post-sitemap.xml
Sitemap: http://www.example.com/page-sitemap.xml
This code commands search bots to index all the images and files of WordPress. At the same time, it disallows the bots from indexing admin area, cloaked affiliate link and readme files of WordPress.
If you add sitemaps to robots.txt file, it becomes easy for Google bots to find all the pages to your site.
Now that you have an idea how an ideal robots.txt file appears to be, let’s move on with the article and take a look at how to create a robots.txt file in WordPress.
How to Create a Robots.txt File in WordPress
We are here with two different ways to create a robots.txt file in WordPress. You may choose the best suitable method for yourself.
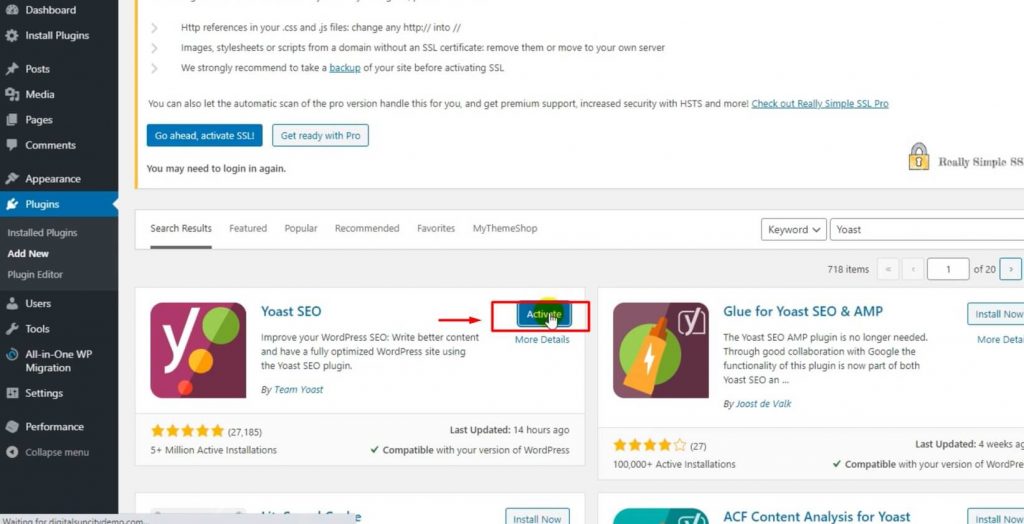
METHOD 1: Editing Robots.txt File using All in One SEO
- Install the plugin and activate it.

- Go to the Tools section in the plugin to edit your file.
- Click on the Enable Custom Robot.txt toggle to turn it into blue.

- You can now create a custom robots.txt file in WordPress.
All in One SEO shows your already existing robots.txt file in the Robots.txt Preview section at the bottom of your screen. AIOSEO also mentions some default rules. These default rules command the search bots not to crawl the main WordPress files, enable the bots to index the whole content, and provide them with your XML sitemaps’ link.
Now, you will be able to add your own custom rules to improve your robots.txt for SEO.
HOW TO ADD A RULE
- Enter a user agent in the User Agent column.
- Use ‘ * ’ symbol to apply this rule to all agents.
- Next, select Allow if you want to allow the search engines to crawl. If not, select Disallow.
- Enter file name in the Directory Path.
- The rule will automatically apply on your robots.txt. If you wish to add another rule, click on the Add Rule button.
- Click on the Save Changes button to store your changed settings.
METHOD 2: Editing Robots.txt file Manually using FTP
In this method, we will be using an FTP client to edit our robots.txt file.
- Connect to your WordPress hosting account with the help of an FTP client.
- You will see robots.txt file in your root folder. If you don’t, then you can just go forward and create one.
- Robots.txt, being a plain text file, can be easily downloaded and edited using any text editor like Notepad.
- Save your changes and upload it back to your website’s root folder.
We really hope that this article helped you with how you can optimise your WordPress robots.txt file. Feel free to contact us with any other WordPress related problem.
Also Read: How To Notify Users About Their Comments In WordPress

0 Comments