

In this tutorial, we will guide you through the process of creating posts in Elementor, a popular page builder for WordPress. Follow the steps below to create a post using Elementor.
You can also watch the video tutorial:
Having said that, let’s move on to the steps on How To Make A Post In Elementor WordPress.
Step 1: Access the Post Editor
To begin, log in to your WordPress admin dashboard and hover over “Posts” and click on “Add New.” This will take you to the post editor where you can create and customize your post.
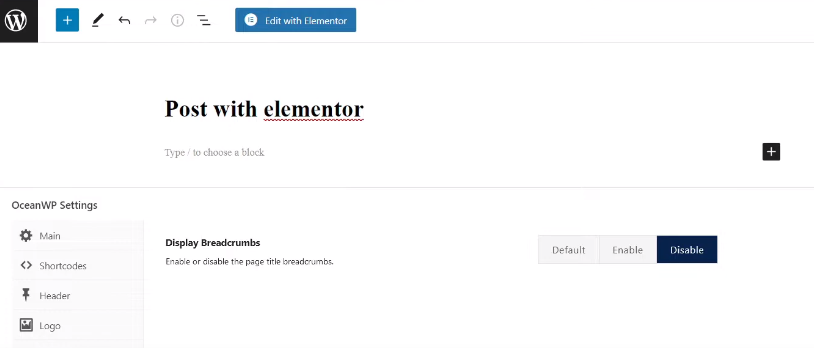
Step 2: Set the Post Title and Content Layout
In the post editor, give your post a unique title in the provided field. You can also set the content layout by disabling the page title and breadcrumbs if desired.
Step 3: Configure Post Settings
Configure the post template by selecting the desired template from the available options. You can choose a template that suits your needs and customize it accordingly.
Step 4: Schedule the Post
Once you have set up your post, click on the “Schedule” button at the top to schedule the post for publication.
Step 5: Edit the Post with Elementor
Now, go to the front end of your website and click on the “Edit with Elementor” button to launch the Elementor editor for the post.
Step 6: Add Widgets to the Post
In the Elementor editor, you can add widgets to your post. Start by adding a row with the desired number of columns. Customize the section settings, including the margins, under the advanced tab.

Step 7: Add Content to the Post
Drag and drop widgets to the columns to add content to your post. For example, you can add an image widget to display the author’s image, a heading widget for titles, and a text editor widget for the article content. Customize each widget’s settings and styling according to your preferences.

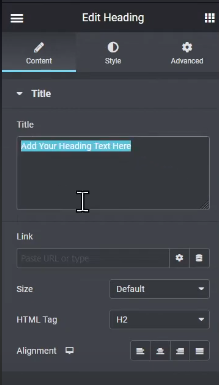
Step 8: Configure Widget Settings
Adjust the settings of each widget, such as image size, alignment, font, color, and other design elements. You can also set the width of the image or adjust the margins and padding of the text editor widget.
Step 9: Update the Post
Once you are satisfied with the changes, click on the “Update” button to save the post with the new content and design.

Step 10: Preview the Post
View the post on the front end of your website to see how it looks with the added widgets and customized styling. Make any necessary adjustments if needed.
By following these steps, you can create visually appealing and engaging posts using Elementor. You have the flexibility to customize the layout, add various widgets, and style the content to create unique and professional-looking posts.
If you have any further questions or need additional assistance, feel free to ask.

0 Comments