In this tutorial, we will guide you through the process of limiting the number of words or characters in a form field using the Contact Form 7 plugin. Whether you want to set a minimum or maximum limit for input in a specific field, Contact Form 7 provides a simple and effective solution. Follow the steps below to implement this feature on your WordPress website.
You can also watch the video tutorial:
Having said that, let’s move on to the steps on How To Limit Words Or Characters In Contact Form 7.
Step 1: Create a New Form
- Log in to your WordPress dashboard and navigate to the “Contact” section.
- Click on “Add New” in the sidebar to create a new form.
- Provide a suitable title for your form.

Step 2: Customize the Form Fields
- Add or remove fields according to your requirements.
- For the purpose of this tutorial, we will focus on limiting the character count in the “Name” field. However, you can apply the same concept to other fields as well.
Step 3: Set Word or Character Limit
- To limit the character count in the “Name” field, you need to specify the desired range using the appropriate syntax.
- For example, if you want to allow a minimum of 5 characters and a maximum of 30 characters in the “Name” field, use the following syntax within the Contact Form 7 editor: [textfield* your-name minlength:5 maxlength:30] This syntax enforces the character limit in the “Name” field.

Step 4: Configure Additional Settings
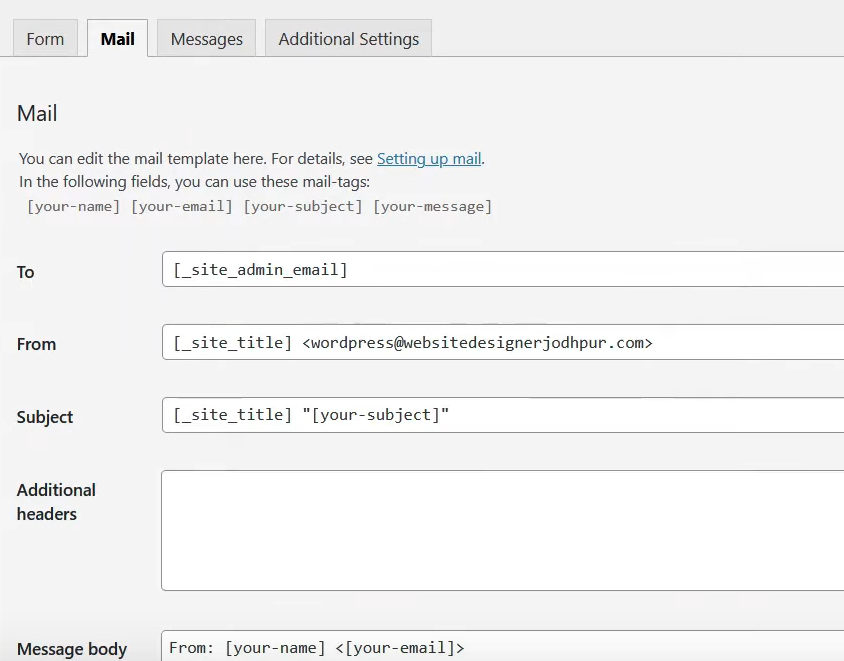
- Customize the mail settings according to your requirements, such as recipient email address, subject, and message body.
- You can also add additional form fields, validation rules, or formatting options if needed.
- Once you have made all the necessary changes, save the form.

Step 5: Embed the Form
- Copy the generated shortcode for your form from the Contact Form 7 editor.
- In the WordPress sidebar, go to “Pages” and select “Add New” to create a new page.
- Give the page an appropriate title and paste the shortcode into the content area.

Step 6: Publish the Page
- Click on the “Publish” button to make the page live on your website.
- You can also use the “Preview” button to see how the form appears to your visitors before publishing.
Step 7: Test the Form
- Visit the page where you embedded the form.
- Fill in the form fields and test the character limits.
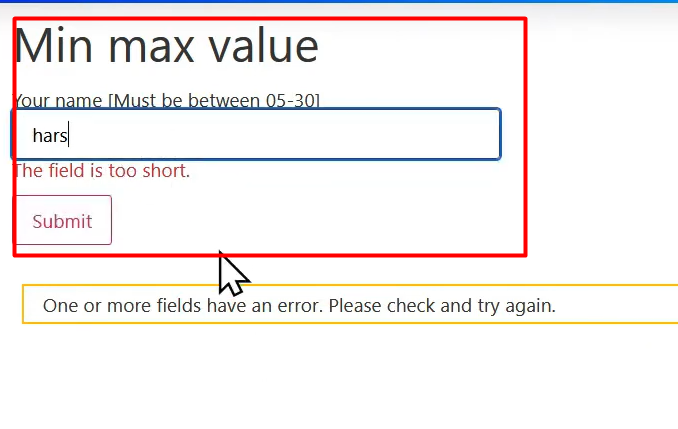
- Try entering fewer than 5 characters in the “Name” field. You should see an error message indicating that the field requires a minimum of 5 characters.
- Test the upper character limit as well, ensuring that the form properly enforces the restrictions.

Conclusion: Congratulations! You have successfully limited the word or character count in a specific field using the Contact Form 7 plugin. By following the steps outlined in this tutorial, you can easily set character limits for various fields in your forms. Feel free to explore additional features and customization options offered by Contact Form 7 to enhance your website’s user experience.
If you have any further questions or suggestions, please don’t hesitate to contact us through our website at digitalsensity.com/health.


0 Comments