

In this tutorial, we will guide you through the process of installing and utilizing the Signature add-on in WP Forms. This add-on enables you to include signature fields in your forms, making it convenient for collecting digital signatures from users. Whether you need signatures for agreements, contracts, or consent forms, the Signature add-on in WP Forms has you covered. Let’s dive into the step-by-step instructions for installation and usage.
You can also watch the video tutorial:
Having said that, let’s move on to the steps on How To Install & Use Signature Addons In WP Forms.
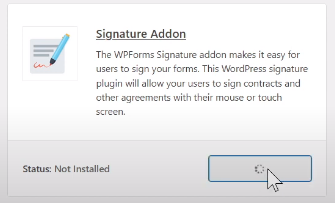
Step 1: Install the Add-on
- Hover over to WP Forms and navigate to the menu.
- Click on “Add-ons” from the menu options.
- Search for the “Signature” add-on from the list of available add-ons.
- Install and activate the Signature add-on.
Step 2: Create a Form
- Under WP Forms, click on “Add New” to create a new form.
- Select a template that suits your requirements or start from scratch.
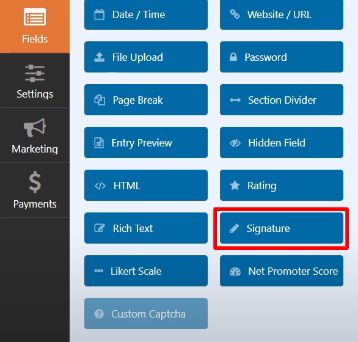
Step 3: Add Signature Field
- In the form builder area, locate the “Fancy Fields” section.
- Drag and drop the signature field to the desired position on your form.
Step 4: Customize the Form
- Customize the form according to your specific needs.
- Feel free to add or edit other fields in addition to the signature field.
- For example, you can add a checkbox field for users to agree to terms and conditions.

Step 5: Customize the Checkbox Field
- Drag and drop the checkbox field into the form builder area.
- Edit the label and options for the checkbox field.
- Rename the choice and label to reflect your specific terms and conditions.

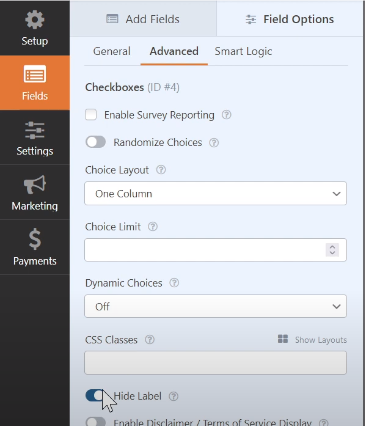
Step 6: Advanced Settings
- Under the “Advanced” tab of the checkbox field, enable the “Hide Label” option if you prefer not to display the label.
- This will allow users to focus on the signature field below.
Step 7: Save the Form
- Once you have customized the form and added the signature and checkbox fields, click on the save button to save your changes.

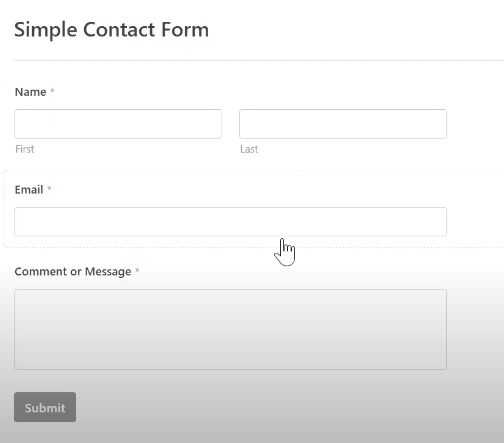
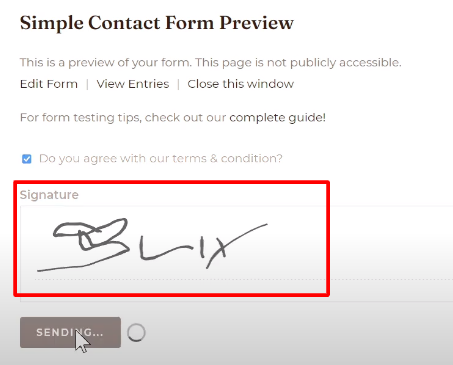
Step 8: Preview the Form
- Preview the form to observe how the Signature add-on functions.
- Users can now provide their signatures by drawing on the signature field.
Step 9: View Entries
- To view the submitted form entries, navigate to the “Entries” tab in WP Forms.
- You will be able to see the signature that was provided by the user.
Conclusion: Congratulations! You have successfully installed and utilized the Signature add-on in WP Forms. By following these simple steps, you can now collect digital signatures from users on your forms. The Signature add-on is a valuable tool for various purposes, including agreements, contracts, and consent forms. WP Forms’ Signature add-on streamlines the process of obtaining signatures, making it easier and more convenient for you and your users.

0 Comments