

In this video tutorial, we will guide you through the process of installing and using the Form Locker add-on in WPForms. The Form Locker add-on adds an extra layer of security to your forms by applying passwords or various restrictions. By following these step-by-step instructions, you’ll be able to protect your forms and control access to them effectively. Let’s dive in!
You can also watch the video tutorial:
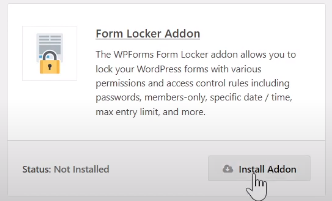
Step 1: Install the Add-On
- Hover over WPForms in your WordPress admin dashboard and click on “Add-ons” in the menu.
- From the list of available add-ons, search for the “Form Locker” add-on and install and activate it.
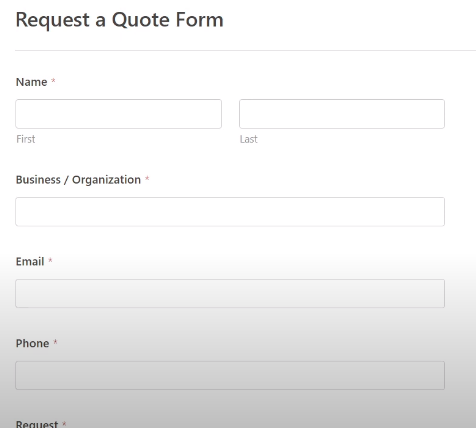
Step 2: Create a Form
- Once the Form Locker add-on is activated, you can proceed to create a form.
- Select a template of your choice from the template library.
- Customize the form fields according to your specific requirements.
Step 3: Configure Form Access
- Click on the “Settings” tab for the form you created.
- Under “Form Locker Settings,” you’ll find various options to control form access. Click on it.

Step 4: Enable Settings
- Enable the settings based on their functionality.
- For example, if you want users to enter certain information before accessing your forms, you can use the form verification options provided by the Form Locker add-on. Enable this setting.
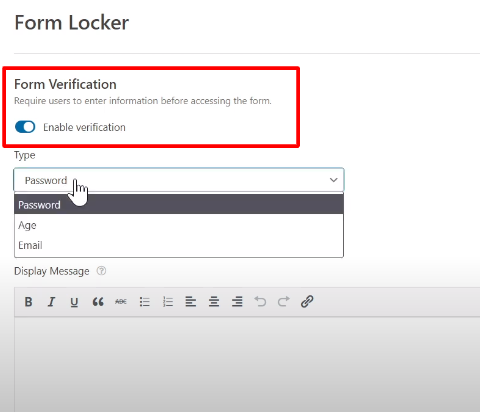
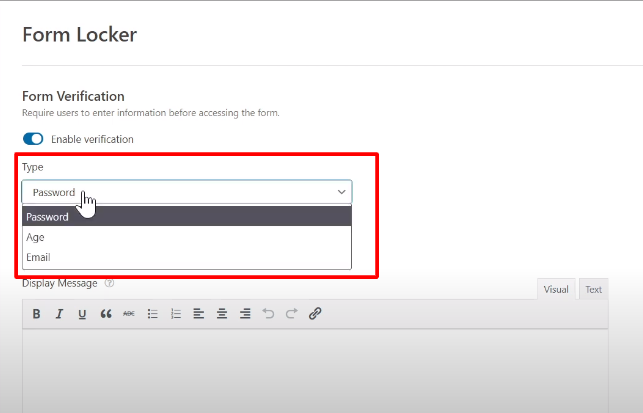
Step 5: Choose Verification Type
- Select from the three verification types available. For this tutorial, let’s use age verification as an example.
- The age verification option will require users to enter their birth dates to prove their age before they can view and interact with your form.
- Set the criteria according to your preferences, such as minimum or maximum age.
Step 6: Enter the Message
- You can enter a message that will appear above the age verification fields to guide users.
- This message can provide instructions or explain the purpose of the verification process.

Step 7: Save the Settings
- Once you have configured the settings, click on the save button to save your changes.
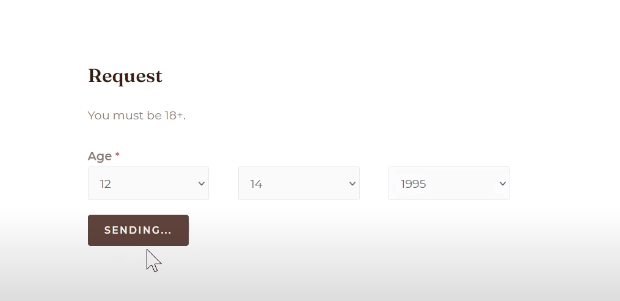
Step 8: Preview the Form
- To see how the age verification feature works, you can preview the form.
- You will notice three drop-down menus where users need to enter their birth dates.
- If their age does not meet the requirements you have set, they will see a message stating that their age does not meet the criteria.
- If their age meets the set criteria, they will be allowed to make an entry and submit the form.
Conclusion: Congratulations! You have successfully installed and utilized the Form Locker add-on in WPForms. By following these steps, you can enhance the security of your forms and control access to them effectively. The Form Locker add-on provides various options to set restrictions or require verification before form access, ensuring a higher level of control and protection for your form submissions.

0 Comments