

Gravity Forms is a powerful WordPress plugin that allows you to create and manage forms on your website. In this tutorial, we will guide you through the process of importing and exporting forms using Gravity Forms. This feature is useful for transferring forms between websites or creating backups for future use. Let’s get started!
You can also watch the video tutorial:
Having said that, let’s move on to the steps on How To Import Or Export Contact Forms In WordPress Using the Gravity Forms Plugin.
Step 1: Access Import/Export
- Log in to your WordPress dashboard.
- Navigate to the “Forms” tab in the sidebar.
- Hover over it, and a drop down menu will appear.
- Click on “Import/Export” to access the Import/Export settings page for Gravity Forms.

Step 2: Export a Form
- On the Import/Export settings page, click on the “Export Forms” tab.
- You will see a list of forms available on your website.
- Select the form you want to export by checking the box next to it.
- Click on the “Download Export File” button.
- The form file will be downloaded to your device, typically in XML format.

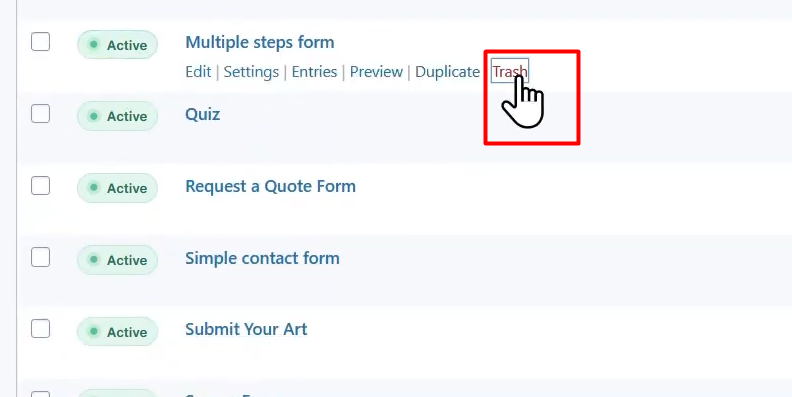
Step 3: Delete the Form (Optional)
- If you want to import the form to the same website, you can skip this step.
- However, if you want to import the form to a different website or replace an existing form, you can delete the form from your website.
- In the “Forms” tab, find the form you want to delete.
- Click on the trash icon to delete it.
- You can also delete it from the trash to completely remove it.
Step 4: Import a Form
- To import a form, go back to the Import/Export settings page.
- Click on the “Import Forms” tab.
- Here, you need to upload the form file that you exported earlier.
- Click on the “Choose File” button, locate the exported form file on your device, and select it.
- Once the file is selected, click on the “Import Forms” button.
- The imported form will be added to your Gravity Forms installation.

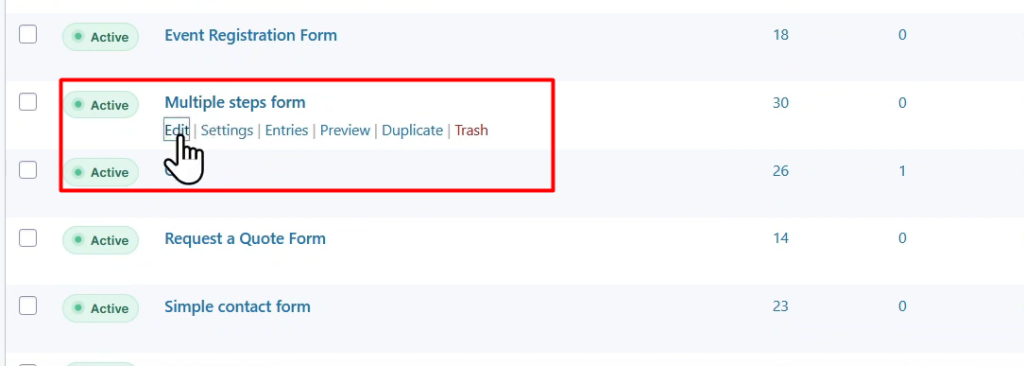
Step 5: Verify the Import
- After importing, you should see a success message at the top of the page.
- Now, go back to the Forms page to find the imported form.
- It should appear in the list of forms.
- You can click on the “Edit” link to make any necessary adjustments to the imported form.
Conclusion: Congratulations! You have successfully imported and exported forms using Gravity Forms in WordPress. This feature provides a convenient way to transfer forms between websites or create backups for future use. By following the steps outlined in this tutorial, you can easily manage your forms and maintain consistency across different websites.

0 Comments