
In this tutorial, we will guide you on how to empty the Elementor trash in WordPress. Follow the steps below.
You can also watch the video tutorial:
Having said that, let’s move on to the steps on How To Empty Elementor Trash In WordPress.
Step 1: Move Items to Trash
To demonstrate the process, we will first move some elements to the Elementor trash. In the Elementor editor, select the global parts or templates you want to delete. For example, you can choose a template named “400 Ford” and click on the “Trash” button.

Step 2: Access the Elementor Trash
Next, go to the WordPress dashboard area. In the sidebar, locate and click on “Templates.” Among the various links displayed, select “Trash.”
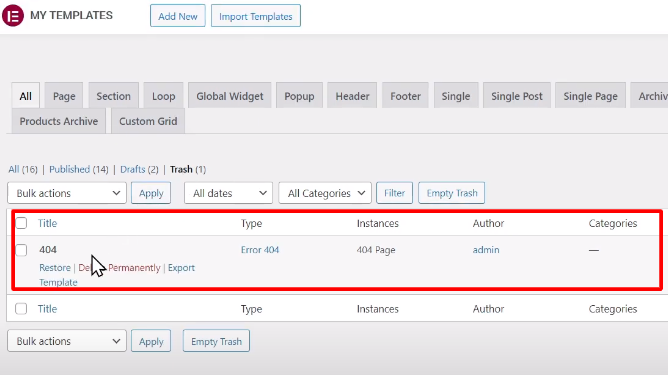
Step 3: Empty the Elementor Trash
In the Elementor Trash interface, you will see a button labeled “Empty Trash.” Simply click on this button to permanently remove all the items in the Elementor trash.

Step 4: Confirm the Emptying Process
A confirmation prompt may appear to ensure you want to proceed with emptying the trash. Verify that you want to permanently delete the items and click on the appropriate option to confirm.
Step 5: Verify Emptying of Elementor Trash
After confirming, the Elementor trash will be emptied, and you will no longer see any deleted items in the trash interface.
By following these steps, you can easily empty the Elementor trash in WordPress. This helps to keep your Elementor editor organized and frees up space by permanently removing unwanted templates or global parts.
We hope you found this video tutorial helpful. If you enjoyed the content and would like to access more free videos like this, consider subscribing to our channel. Additionally, if you have any further questions or suggestions, feel free to visit our website at digitalsuncity.com. Navigate to the “Help” section and fill out the contact form with your inquiries. We will respond to your questions as soon as possible.
Thank you for watching this video, and we appreciate your support!

0 Comments