

In this tutorial, we will guide you through the process of allowing users to enter time in contact forms using the Formidable Forms plugin in WordPress. By adding a time field, you can collect time-specific information from your users easily and efficiently. Let’s get started!
You can also watch the video tutorial:
Having said that, let’s move on to the steps on How To Customize The Time Field In Contact Forms In WordPress.
Step 1: Install and Activate the Formidable Forms Plugin
Ensure that you have installed and activated the Formidable Forms plugin on your WordPress website. You can find this plugin in the WordPress plugin repository. If you haven’t done so already, go to the “Plugins” section in your WordPress dashboard, click on “Add New,” search for “Formidable Forms,” and then click on “Install” and “Activate.”
Step 2: Access the Formidable Forms Dashboard
Once the plugin is activated, locate the “Formidable” tab in the WordPress dashboard sidebar and click on it. This will take you to the Formidable Forms dashboard, where you can manage and create forms.

Step 3: Create a New Form
To create a new form, click on the “Add New” button in the Formidable Forms dashboard. A pop-up window will appear, prompting you to provide a title for your form, such as “Time.” Enter the desired title and click on “Create” to proceed.

Step 4: Build the Form
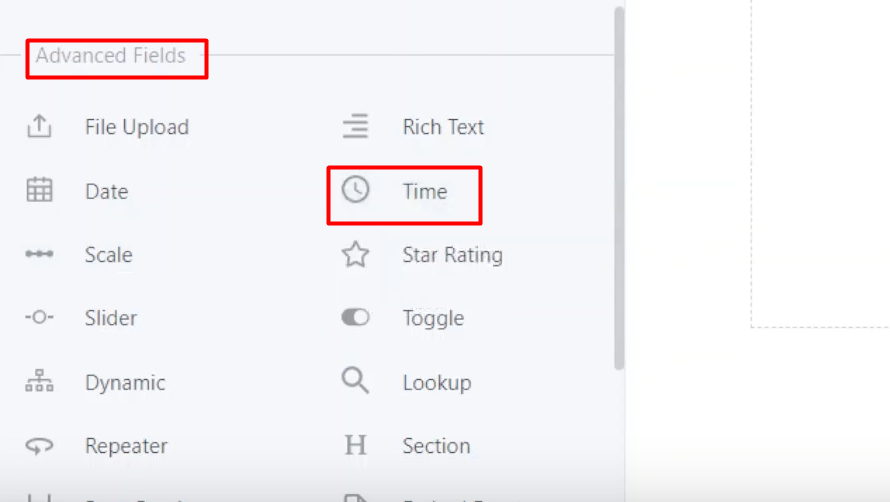
You will now be redirected to the form builder area. Here, you can add and customize form fields according to your needs. To add a time field, search for the “Time” field among the available fields and drag it onto the form builder area.
Step 5: Configure Time Field Settings
Click on the time field you just added to access its settings. In the settings panel, you can adjust the time range by specifying the minimum and maximum values. This allows you to set constraints on the time input, ensuring it falls within the desired range.
Furthermore, you can select the time format that suits your requirements, whether it’s a 12-hour or 24-hour format. If you want the field width to be automatically adjusted based on the content, check the “Automatic Width” box.
For advanced customization, explore the additional settings provided to further tailor the time field to your specific needs.

Step 6: Update the Form
Once you have made the necessary changes to the time field and any other form elements, click on the “Update” button to save the form and apply your modifications.
Conclusion:
Congratulations! You have successfully added a time field to your contact form using the Formidable Forms plugin in WordPress. Users can now enter time values when submitting the form, allowing you to collect time-specific information effortlessly.
Feel free to continue customizing the form by adding more fields, configuring other settings, and exploring the capabilities of the Formidable Forms plugin. It offers a wide range of options to create powerful and interactive forms tailored to your unique requirements.
We hope this tutorial has provided you with the guidance you needed. If you have any further questions or require additional assistance, please don’t hesitate to reach out.

0 Comments