

In this tutorial, you will learn how to customize the date and time field in WPForms.
You can also watch the video tutorial:
Follow these steps to customize the field settings.
Step 1: Create a Form
Hover over WP Forms in the WordPress admin dashboard and click on “Add New.” Enter a title for your form and select a blank form template.

Step 2: Add the Date and Time Field
Drag and drop the “Date and Time” field from the available fields to your form. This field allows users to select a date and time for their appointment or any other purpose.

Step 3: Configure Field Settings
Click on the “Date and Time” field to configure its settings. You can edit the label name to customize how it appears in the form. Set the desired format for the date and time.

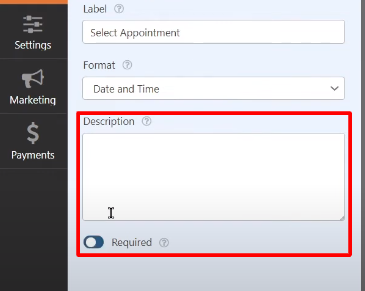
Step 4: Enter the Description and Make the Field Required
If needed, you can enter a description for the field in the description box. You can also make the field required by enabling the “Required” option.
Step 5: Advanced Field Settings
In the “Advanced” tab, you can further customize the field. Set the field size, enter placeholders for the input field, and choose to hide labels or sub-labels if desired.

Step 6: Limit Dates and Disable Past Dates
You can limit the available days for selection by enabling the “Limit Days” option. Check or uncheck the boxes to select specific days. Additionally, you can disable past dates so that only future dates can be selected.

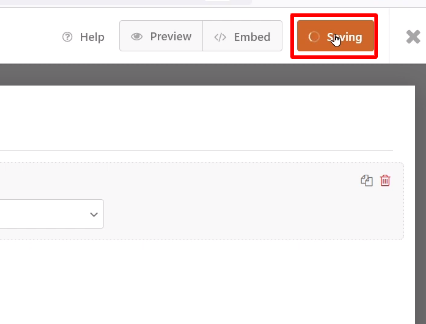
Step 7: Save Changes
After customizing the field settings, click on the “Save” button to save your changes.
Step 8: Preview the Form
To see how the date and time field look, preview your form. Click on the date picker to select a date, and you will notice that past dates are disabled based on your settings.

By following these steps, you can easily customize the date and time field in WP Forms to meet your specific requirements. It allows you to control the available dates, format, and other settings for a more personalized form experience.
Thank you for watching this tutorial. If you have any further questions or need assistance, feel free to ask.
Read More: How To Export Entries In WP Forms WordPress

0 Comments