

In this video tutorial, we will explore how to create a multi-step form using Ninja Forms in WordPress. A multi-step form allows you to break down a lengthy form into smaller, more manageable sections, improving user engagement and enhancing the overall user experience. By following these steps, you’ll be able to create a multi-step form that guides users through a series of form sections, making the form submission process easier and more intuitive.
You can also watch the video tutorial:
Creating a Multi-Step Form Using Ninja Forms:
Step 1: Install and Activate the Multi-Step Forms Plugin:
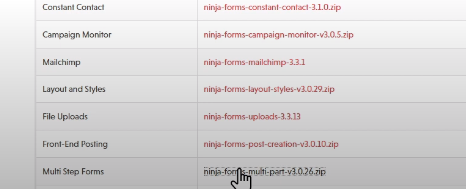
Start by installing and activating the “Multi-Step Forms” plugin. You can find the plugin file under the “Downloads” tab in Ninja Forms. Search for “Multi-Step Forms,” download the zip file, and then upload and install it through the WordPress dashboard.
Step 2: Activate the License Key:
After installing the plugin, activate the license key. Hover over “Ninja Forms” in the WordPress dashboard and click on “Settings.” Go to the “Licenses” tab and paste your license key next to “Multi-Step Forms.” Click on the “Activate” button to activate the license.

Step 3: Create a Multi-Step Form:
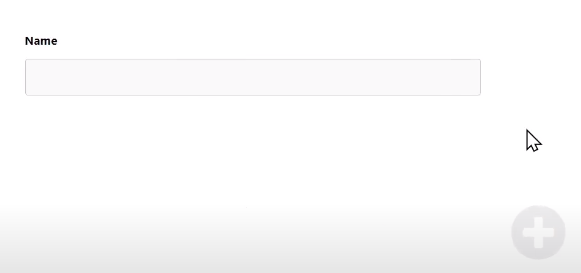
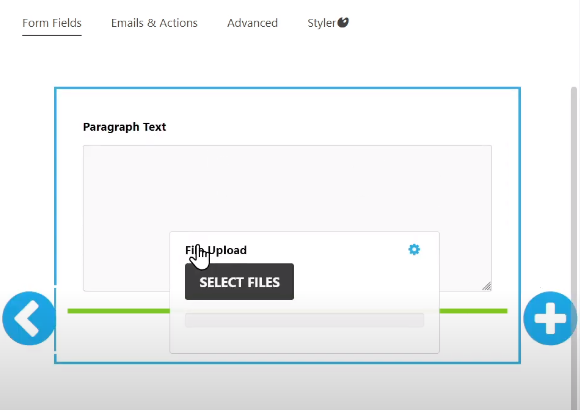
Now, let’s create the multi-step form. Select a template for your form based on your preferences. Begin with the first part of the form and drag and drop the desired fields into it. Each time you add a field, you’ll notice a plus icon that allows you to create the next step of the form. Customize the fields in each part according to your requirements.
Step 4: Add Additional Form Parts:
Repeat the process of adding fields and creating form parts to create additional steps or sections of the form. You can add as many parts as needed to divide the form into logical sections.
Step 5: Add a Submit Button:
In the final part of the form, add a submit button to allow users to submit their form once they have completed all the steps.

Step 6: Review and Publish the Form:
Review all the parts of the form to ensure they are set up correctly. Provide a title for your form, then publish it.

Step 7: Preview and Test the Form:
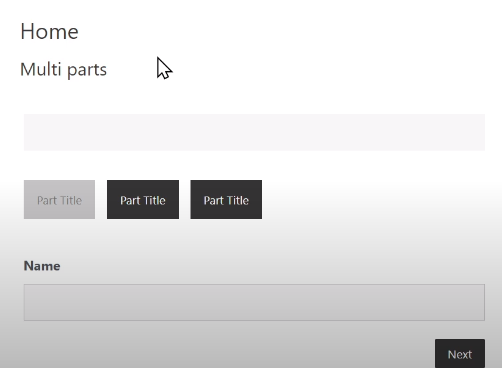
Preview the form to see how it looks and functions. Make a test entry to experience the multi-step form in action. Each time the user clicks “Next,” they will be directed to the next part of the form. Once the user reaches the final part, they can click the submit button to complete the form.
Conclusion:
Congratulations! You have successfully learned how to create a multi-step form using Ninja Forms in WordPress. By dividing your form into smaller sections, you can improve the user experience and increase form completion rates. Customize the form fields, layout, and design according to your specific needs to create a seamless and intuitive user experience. Enjoy creating engaging and user-friendly forms with Ninja Forms’ multi-step functionality.

0 Comments