

In this tutorial, I will guide you on how to create forms in WordPress using the Ninja Forms plugin. Ninja Forms provides a drag-and-drop builder and an easy-to-use interface, making it ideal for beginners to create professional and creative contact forms.
You can also watch the video tutorial:
Let’s get started:
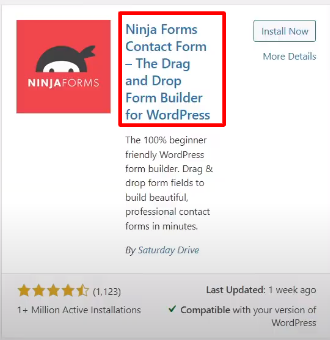
Step 1: Install and Activate Ninja Forms
Go to your WordPress admin dashboard, hover over “Plugins,” and click on “Add New.” In the search box, enter “Ninja Forms.” Locate the Ninja Forms plugin and click on “Install Now.” Once installed, click on “Activate.”
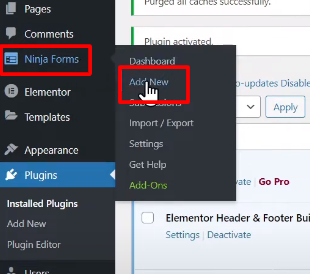
Step 2: Create a New Form
In the WordPress admin sidebar, you will now see the Ninja Forms menu item. Hover over it and click on “Add New.” You will see a selection of form templates.
Step 3: Select a Blank Form Template
For this tutorial, let’s choose a blank form template. This will give you the flexibility to build your form from scratch.

Step 4: Add Fields to the Form
On the right side, you will find various form fields. Simply drag and drop the desired fields from the right to the left side of the screen. Add the necessary fields like Name, Email, Message, etc. You can also customize each field’s settings by clicking on the settings icon.

Step 5: Customize Field Settings
By hovering over a field and clicking on the settings icon, you can edit the label name, make fields required, and configure other options as per your requirements. Make sure to review and adjust the settings for each field.

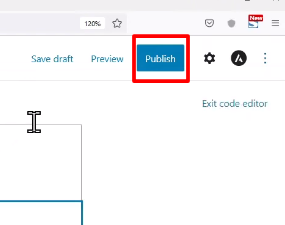
Step 6: Publish the Form
Once you are satisfied with your form, click on the “Publish” button. Enter a title for your form and click on “Publish” again. A shortcode will be generated for the form.

Step 7: Add the Form to a Page
Copy the generated shortcode. Go to “Pages” in the WordPress admin dashboard and click on “Add New.” Give the page a name and switch to the “Code Editor” mode. Paste the shortcode into the content area.

Step 8: Publish the Page
After pasting the shortcode, click on the “Publish” button to make the page live.
Step 9: View the Form
You can now view the page and see the form in action on your WordPress website. Test the form by filling in the fields and submitting it.

Congratulations! You have successfully created a contact form using Ninja Forms in WordPress. Feel free to explore more features and customization options offered by the Ninja Forms plugin.
I hope this tutorial was helpful. If you have any further questions or need assistance, please don’t hesitate to ask.

0 Comments