

Gravity Forms is a powerful WordPress plugin that enables you to create custom forms for your website. Whether you need a simple contact form or a complex survey, Gravity Forms offers a user-friendly interface and a wide range of form fields. In this tutorial, we will walk you through the process of creating a form using the Gravity Forms plugin. Let’s get started!
You can also watch the video tutorial:
Having said that, let’s move on to the steps on How To Create A Contact Form In WordPress Using Gravity Forms.
Step 1: Install and Activate Gravity Forms
- Log in to your WordPress dashboard.
- Navigate to the “Plugins” section and click on “Add New.”
- Search for “Gravity Forms” in the search bar.
- Once you find the plugin, click on “Install Now” and then “Activate” to activate it on your website.
Step 2: Access Gravity Forms
- After activating the plugin, locate the “Forms” tab on the WordPress dashboard sidebar.
- Click on it to access the Gravity Forms window, where you can manage and create forms.

Step 3: Create a New Form
- In the Gravity Forms window, click on the “Add New” button.
- A pop-up window will appear. Enter a title and, optionally, a description for your form.
- Click on the “Create Form” button to proceed.

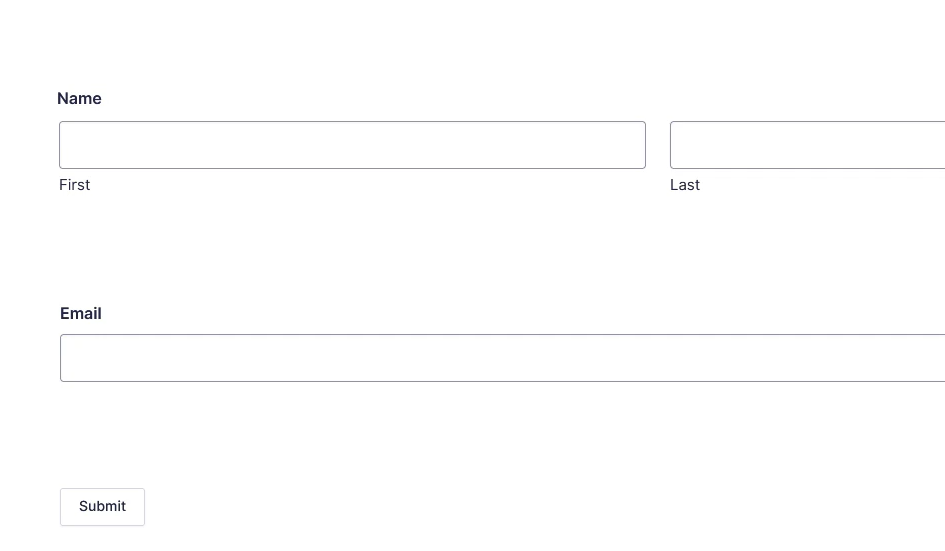
Step 4: Customize the Form
- You will be redirected to the form builder area.
- Customize your form by dragging and dropping fields from the right-hand panel onto the form builder area.
- Gravity Forms provides a variety of standard fields, and you can also access additional fields under the “Advanced Fields” tab.
- To add a field, drag and drop it onto the form builder area.
- Configure the field settings by clicking on the field, including the label, description, and other options.
- You can make fields required by checking the “Required” checkbox.
Step 5: Save the Form
- After customizing the form, click on the “Save Form” button at the top of the page to save your changes.

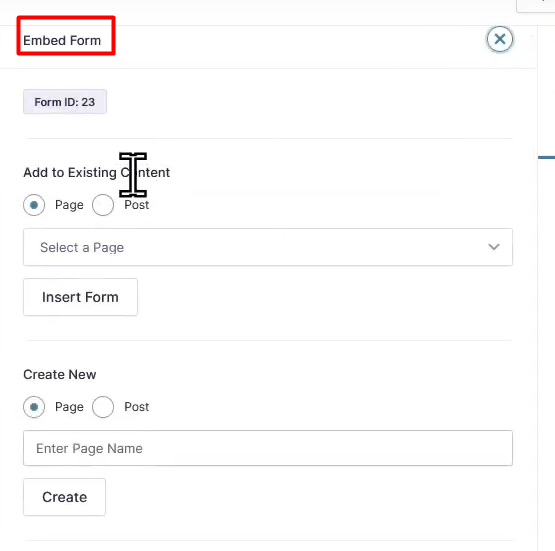
Step 6: Embed the Form
- To embed the form on a page or post, click on the “Embed” button.
- Select an existing page or post from the list or create a new one.
- Copy the shortcode provided by Gravity Forms.
- Paste the shortcode into the specific page or post where you want to embed the form.
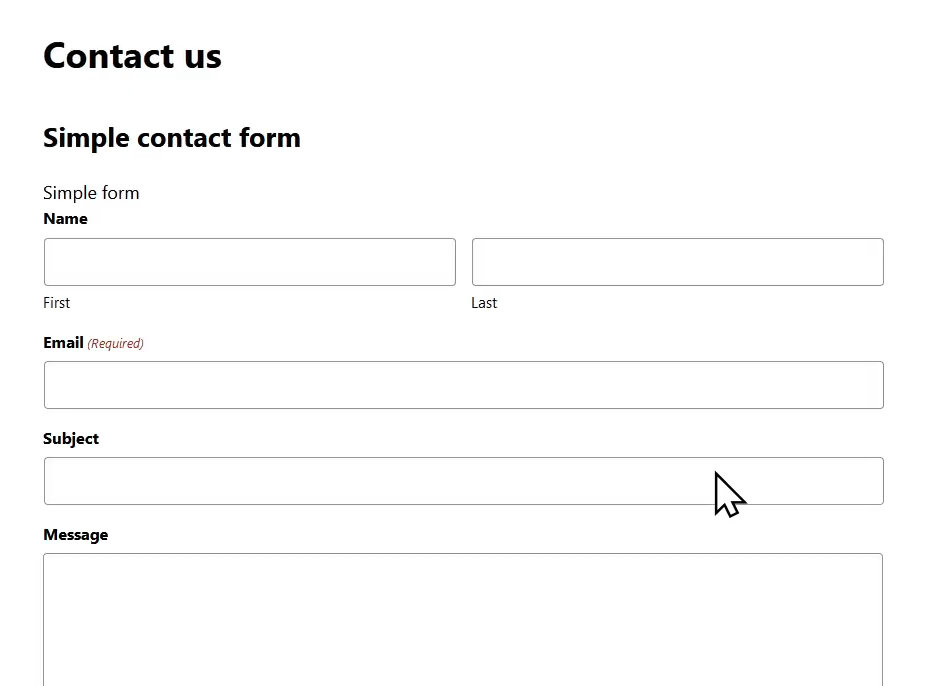
Step 7: Publish the Page
- Save and publish the page or post where you embedded the form.
- Visit the page from the frontend of your website to see how the form appears to users.
Conclusion: Congratulations! You have successfully created a form using the Gravity Forms plugin in WordPress. By following the steps outlined in this tutorial, you can customize the form fields, configure settings, and embed the form on your website. Gravity Forms provides a flexible and intuitive form-building experience, allowing you to collect user data effectively.
Remember to further customize the form or add additional fields to meet your specific requirements. Gravity Forms offers extensive customization options, including conditional logic and integrations with popular email marketing services and CRMs.

0 Comments