In this tutorial, we will guide you on how to create a custom 404-page using Elementor. Follow the steps below.
You can also watch the video tutorial:
Step 1: Access the Theme Builder
In your WordPress admin dashboard, hover over “Templates” and click on “Theme Builder”. This will allow you to create custom templates for different parts of your website.

Step 2: Select the 404 Template
In the Theme Builder, select the “Error 404” template. This template is specifically designed for displaying a custom page when a user encounters a 404 error (page not found).

Step 3: Create the 404 Page
Click on the “Add New” button to create a new 404 page. You will be redirected to the Elementor editor where you can design and customize the page.

Step 4: Customize the Page
Using the available widgets and elements in Elementor, design your custom 404 page. You can add text, images, buttons, or any other elements to make the page visually appealing and informative.
Step 5: Publish the Page
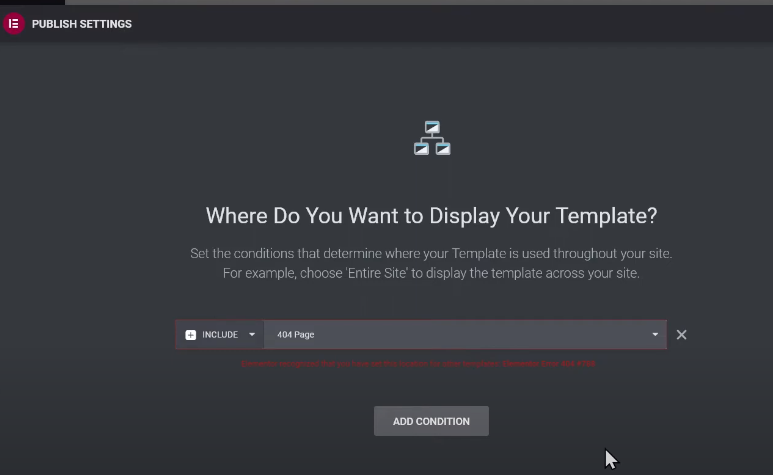
Once you have finished customizing the 404 page, click on the “Publish” button to save your changes. Elementor will automatically assign the appropriate rules to display this template on your 404 error page.

Step 6: Test the 404 Page
To ensure the 404 page is working correctly, try accessing a non-existent URL on your website. You should be redirected to the custom 404 page you created instead of the default error page.
That’s it! By following these steps, you can easily create a custom 404 page using Elementor. The flexibility of Elementor allows you to design a unique and engaging page that helps users navigate your website even when they encounter a broken or mistyped URL.
We hope you found this tutorial helpful. If you have any further questions or need additional assistance, feel free to reach out to us.


0 Comments