In this tutorial, we will guide you on how to change the page title in Elementor. Follow the steps below.
Having said that, let’s move on to the steps on How To Change Page Title In Elementor WordPress.
Step 1: Access the Page Editor
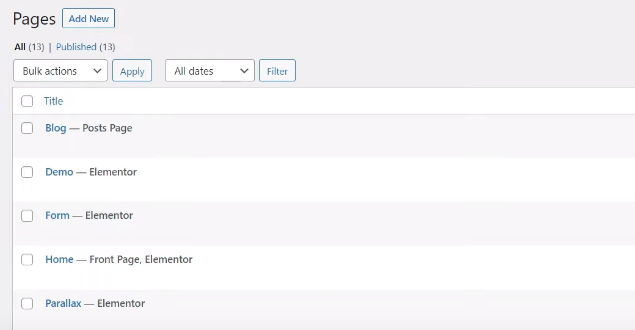
Login to your WordPress admin dashboard and navigate to “Pages” in the sidebar. Locate the page you want to modify and click on the “Edit with Elementor” link. This will open the page in the Elementor editor.

Step 2: Access Page Settings
Within the Elementor editor, look for the settings icon, typically represented by a gear or cogwheel, located at the bottom of the sidebar. Click on this icon to access the page settings.

Step 3: Edit the Page Title
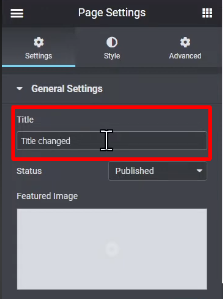
In the page settings panel, you will find an option to edit the page title. Simply click on the existing page title and modify it according to your requirements. You can add a new title, edit the existing one, or remove it altogether.

Step 4: Update the Page
Once you have made the necessary changes to the page title, click on the “Update” button to save the modifications.

Step 5: Preview the Changes
You can now preview the updated page title to ensure it appears as intended. You will see the changes reflected in the Elementor editor.
By following these steps, you can easily change the page title in Elementor. It provides a simple and intuitive way to customize the titles of your pages without having to navigate through complex settings.
We hope you found this video tutorial helpful. If you have any further questions or need additional assistance, feel free to reach out to us.


0 Comments