

Would you like to add administrator notices in WordPress? Administrator notices can be utilized by WordPress centre, topics, and modules to show admonitions, and significant on screen data to clients. In this article, we will show you how you can add administrator notices in WordPress.
Why and When Should You Use WordPress Admin Notices?
Administrator notices can also be used by individual site owners, plugin authors, and theme developers.
You can also watch Video tutorial:
If you are creating a website for a client who is unfamiliar with WordPress, you can use admin notices to display useful information throughout their WordPress admin area.
If you have a multi-author WordPress site, custom admin notices can also be useful. You can include notices to guide new authors and assist them in navigating the site.
However, we recommend that admin notices be used with caution. They can be extremely irritating and may ruin your users’ WordPress experience.
Having said that, let’s look at how to add your own custom admin notices to WordPress.
There are two ways to add WordPress warning notices for visitors?
- Manual Way
- Plugin Way
The manual method goes like:
This method necessitates the addition of code to your WordPress site. If you’ve never added code before, check out our guide on pasting web snippets into WordPress.
Let’s get this party started.
To begin, add this code to your theme’s functions.php file or a site-specific plugin’s functions.php file.
Code:
function general_admin_notice(){
    global $pagenow;
    if ( $pagenow == 'options-general.php' ) {
         echo '<div class="notice notice-warning is-dismissible">
             <p>This notice appears on the settings page.</p>
         </div>';
    }
}
add_action('admin_notices', 'general_admin_notice');
This code exhibits a notice with a yellow boundary and a close tab on the settings page. This is how it will look on your website:
If you look closely at the code, you’ll notice that we used the $pagenow variable to determine the current page.
Then we get to add a condition to see if the current page matches the page where we want to display the notice.
If it does, we display the notice within an element. For various types of notices, this div element makes use of CSS classes already defined in the WordPress admin stylesheet.
You must use the notice class before adding notice-error, notice-warning, notice-success, or notice-info.
You can also use the is-dismissible class, which adds a button to close the notice.
Aside from checking the current page, you can add any number of conditions to display notices that correspond to various scenarios.
Feel free to experiment with various conditions, filters, and hooks to experiment with admin notices.
Plugin Method
- First, you have to open your WordPress admin dashboard.
- Hover on to Plugins.
- Click on Add New.
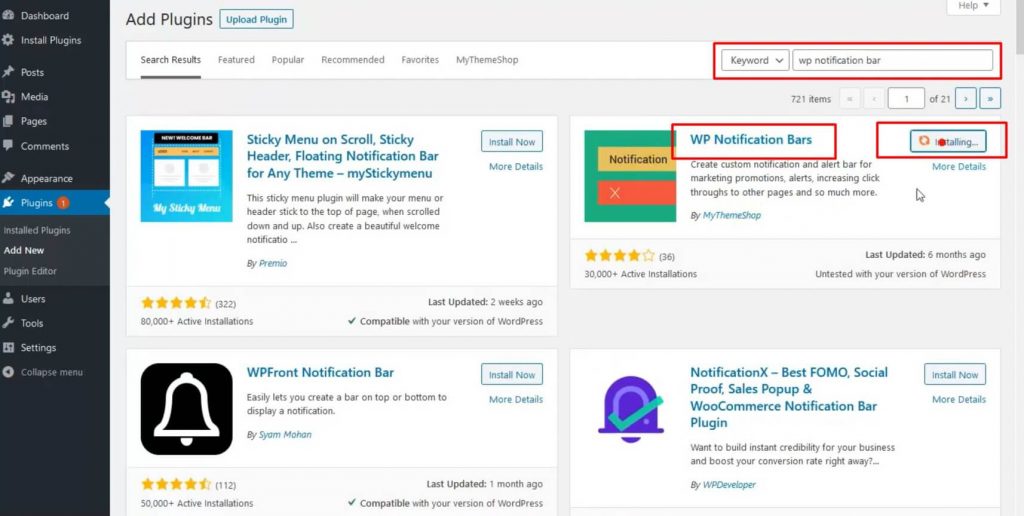
- In the search bar, type WP Notification Bar.
- Click on Install Now and then Activate it.
- Now hover on the Notification Bar.

- Now click on Add New.
- Now, you’ll see a text box for the Notification Bar title.
- In the General Settings, you can choose any of the options beside the Hide/Close button.
- Same goes with Content Width Button and Notification Bar CSS Position.
- Now, click on Content on the top.

- You have the option to choose the content in two ways: either Custom or by the Text/Link button.
- If you choose to go with the Text and Link button, you can choose your link style and the text that you want the warning notice to be.
- Now, when you check out Style from the top bar, you can change the settings as per your requirements.

- When you tap on the Conditions tab on the top, you can choose when and where the notification should be displayed
- Once you’ve made all the changes according to your requirements, you can click on Publish.
When you’ve updated your settings, you can go and check your website if the changes have been made.
As long as you manage to follow all the instructions above properly, the warning notice must be visible on your website.
In case you have any more doubts or queries, feel free to check out our website or contact Digital Suncity.
Also Read: How To Import / Export Your WordPress Gutenberg Blocks

0 Comments