

Introduction: Forminator Forms plugin for WordPress provides a convenient way to create and customize forms for your website. If you’re looking to add a text area field to your form, this tutorial will guide you through the process step by step. By following these instructions, you’ll be able to create a form that allows users to enter multiple lines of text in a designated area.
You can also watch the video tutorial:
Having said that, let’s move on to the steps on How How To Add a Text Area Field In WordPress.
Step 1: Accessing the Forminator Forms Plugin
- Log in to your WordPress admin panel.
- Locate the WordPress sidebar and hover over the “Forminator” plugin.
- Click on “Forms” in the submenu that appears.

Step 2: Creating a New Form
- In the Forminator Forms section, click on the “Create” button.
- A pop-up window will appear, presenting different form templates. For this tutorial, select the “Blank” template.
- Provide a name for your form in the designated field.
- Click on the “Create” button to proceed.

Step 3: Navigating the Form Builder
- After creating the form, you’ll enter the Form Builder area.
- To add a text area field, click on the “Insert Fields” button.

Step 4: Adding the Text Area Field
- In the list of available field options, locate and select the “Text Area” field.
- Click on the “Insert Field” button to add it to your form.

Step 5: Configuring the Text Area Field
- Once the text area field is added, you can customize its settings.
- Modify the label name and placeholder text according to your requirements.
- If necessary, you can include a description for the field.
- Optionally, set a default value for the text area by entering it in the “Default Value” field.

Step 6: Adjusting Field Settings
- Navigate to the “Settings” tab to modify the text area field’s behavior.
- Choose whether the field should be optional or mandatory.
- Customize the error messages associated with the text area field if needed.
- Enable or disable the Rich Text Editor, which allows formatting options, based on your preferences.
- Adjust the default height of the text area using the “Default Height” setting.
- Optionally, set a character or word limit for the text area field using the respective settings.

Step 7: Applying the Changes
- Once you have configured the settings, click on the “Apply” button to save your changes.
Step 8: Publishing the Form
- To make the form available on your website, click on the “Publish” button.
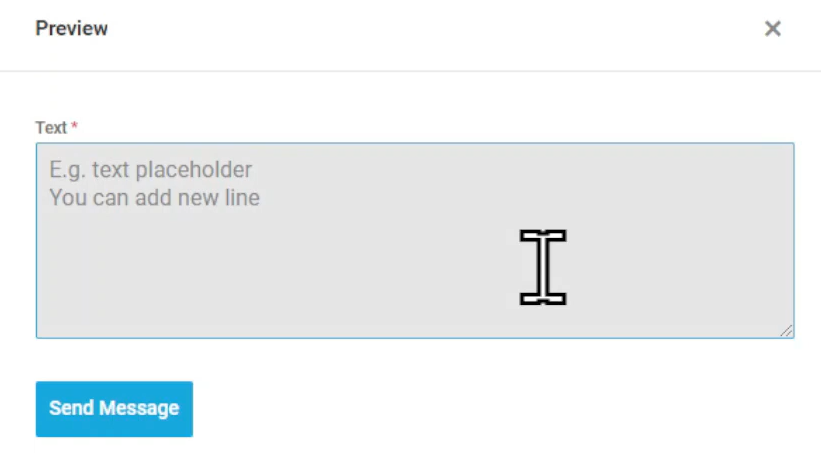
- Preview the form to ensure that the text area field has been added successfully.
- The text area field will be displayed on the form, allowing users to enter multiple lines of text.
Conclusion: By following the steps outlined in this tutorial, you have successfully added a text area field using the Forminator Forms plugin for WordPress. Now you can create forms that include a designated area for users to input multiple lines of text. Feel free to customize the form further and explore additional features offered by the plugin to enhance your website’s functionality.
.

0 Comments