

Adding a Ninja Form to your WordPress website allows you to collect user data, receive submissions, and engage with your audience directly. This tutorial will guide you through the process of embedding a Ninja Form on any page of your website. By following these steps, you can easily integrate forms into your pages and enhance user engagement and data collection.
You can also watch the video tutorial:
Having said that, let’s move on to the steps on How To Add Ninja Form To Pages In WordPress.
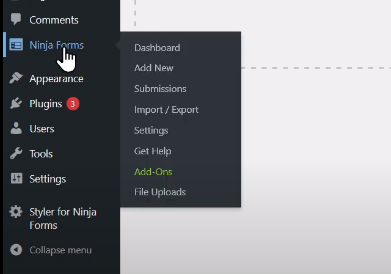
Step 1: Access the Ninja Forms Plugin
- In the WordPress admin dashboard, locate and click on “Ninja Forms” in the sidebar menu.
Step 2: Select the Form to Embed
- From the list of available forms, choose the form you want to embed on your pages.
- Click on the form to open its settings.

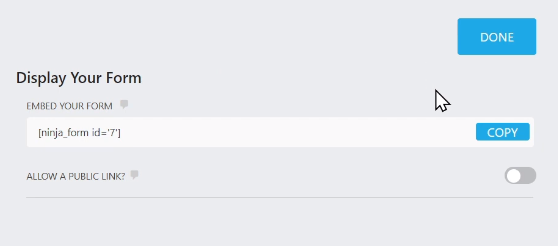
Step 3: Copy the Form Shortcode
- Within the form settings, look for a button or tab labeled “Embed” or “Shortcode”.
- Click on it to reveal the shortcode specific to your form.
- Copy the entire shortcode provided.
Step 4: Publish the Form
- After copying the shortcode, ensure that you click on the “Publish” button to save any changes made to the form.
Step 5: Create or Edit a Page
- In the WordPress sidebar, navigate to “Pages” and click on “Add New” to create a new page.
- Alternatively, choose an existing page to edit by selecting it from the list.
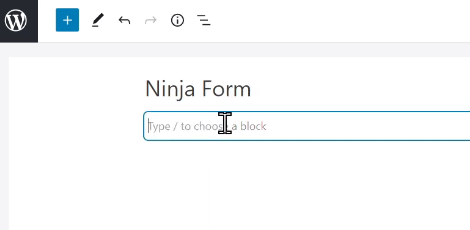
Step 6: Add the Form Shortcode
- On the page editor screen, make sure you are in the “Code” or “Text” editor mode, not the visual editor.
- Find the appropriate location on the page where you want to insert the form.
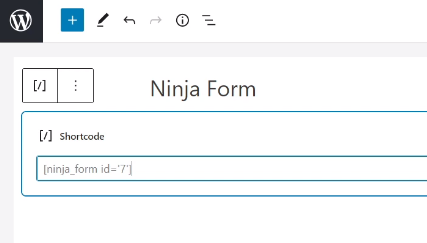
- Paste the shortcode that you copied from the form settings into the page editor at the desired position.
Step 7: Publish the Page
- Once you have pasted the shortcode in the correct location, click on the “Publish” button to save and publish the page.

Step 8: Preview the Page
- To see the Ninja Form in action, click on the “View Page” or “Preview” button to view the published page.
- You will be able to see the form embedded on the page, ready for user interaction.

Conclusion: By following the steps outlined in this tutorial, you can easily add a Ninja Form to any page in WordPress. The shortcode acts as a placeholder that will be replaced by the actual form when the page is viewed. Embedding forms on your pages allows you to collect user data, receive submissions, and engage with your audience directly. Remember to customize the form and page settings to suit your specific requirements. You can modify the form design, adjust form fields, and configure form actions according to your needs. Enjoy seamlessly integrating forms into your website and enhance user engagement and data collection.

0 Comments