

Formidable Forms is a versatile WordPress plugin that allows you to create custom forms with ease. In this step-by-step guide, we will show you how to add a name field to your contact forms using the Formidable Forms plugin. By following these instructions, you can gather the names of your form users and enhance the personalization of your contact forms. Let’s get started!
You can also watch the video tutorial:
Having said that, let’s move on to the steps on How To Add a Name Field In Contact Forms Using Formidable Forms Plugin.
Step 1: Install and Activate the Formidable Forms Plugin
- Begin by installing and activating the Formidable Forms plugin from the WordPress plugin repository.
Step 2: Access the Formidable Forms Plugin Settings
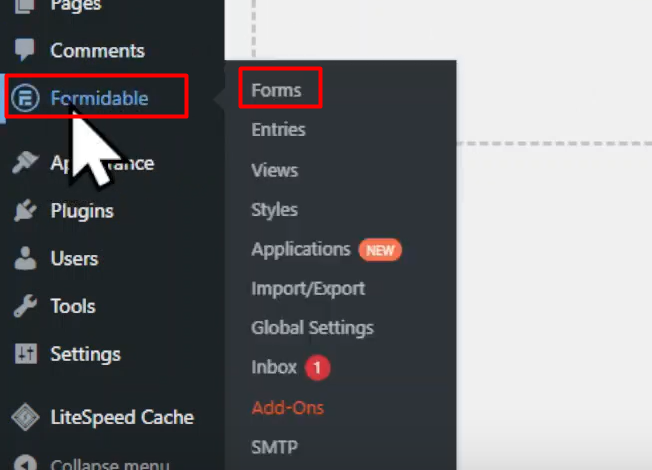
- In your WordPress sidebar, locate the “Formidable” menu item and click on it.
- This will take you to the Formidable Forms window.
Step 3: Create a New Form or Modify an Existing One
- To create a new form, click on the “Add New” button.
- Alternatively, if you already have a contact form that you want to modify, select it from the list of existing forms.
Step 4: Choose a Form Template
- In the pop-up window, you will see a variety of form templates to choose from.
- Select the template that best suits your needs or skip this step if you prefer to start from scratch.

Step 5: Provide a Title for Your Form
- Give your form a descriptive title that helps you identify its purpose.
- Once you have entered the title, click on the “Create” button.

Step 6: Enter the Form Builder Area
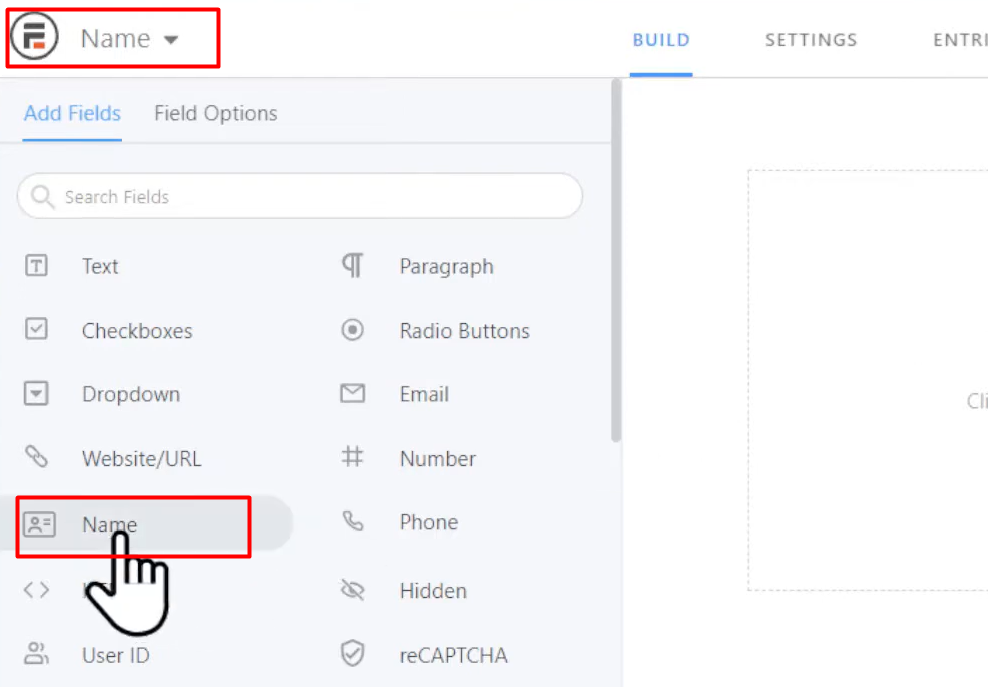
- You will now be in the Form Builder area where you can design your form.
- On the left side, you will find a list of standard fields.
- Locate the name field and drag and drop it onto your form.
Step 7: Configure the Name Field Settings
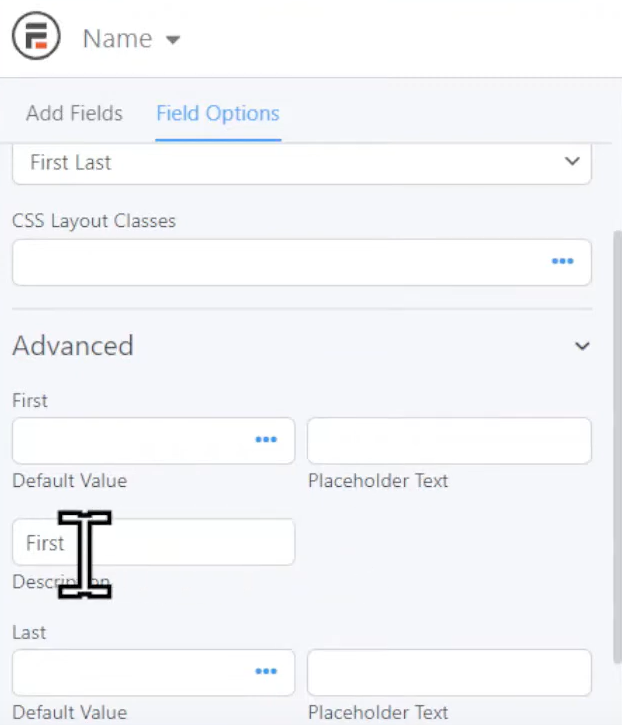
- Click on the name field to access its settings.
- Edit the field label to specify that the user should enter their name.
- If you want to make the name field mandatory, check the “Required” box under the advanced settings.
- Customize other settings such as placeholder text, visibility, label position, and validation message as per your requirements.
Step 8: Save the Form
- Once you have finished configuring the name field settings, click on the “Update” button to save the changes and update the form.
Step 9: Preview and Test the Form
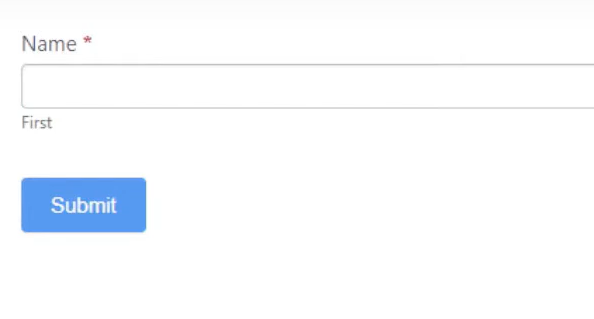
- Preview the form you have created to ensure it functions correctly.
- Make a test entry to verify that both the first name and last name fields must be filled in to submit the form. Otherwise, an error message will be displayed.
Step 10: Congratulations!
- You have successfully added a name field to your contact forms in WordPress using the Formidable Forms plugin.
- With this addition, you can collect the names of your form users and personalize your interactions with them.
Conclusion: By following these step-by-step instructions, you have learned how to add a name field to your contact forms in WordPress using the Formidable Forms plugin. Formidable Forms offers a user-friendly interface and a wide range of customization options, allowing you to create professional and personalized forms to meet your specific needs. Enhance your contact forms and gather the necessary information from your users with ease using Formidable Forms.

0 Comments