

In this tutorial, we will guide you on how to insert a Google Map in Elementor using the LM Tour plugin.
Having said that, let’s move on to the steps on How To Add/Insert Google Map In Elementor.
Step 1: Create a Page with Elementor
Start by creating a new page using Elementor. Customize the page layout and design as per your requirements. Elementor provides a user-friendly interface that allows you to easily design and style your page.

Step 2: Add a Section
In the Elementor editor, click on the “+” icon to add a new section to the page. This section will provide a container for the Google Map widget.
Adjust the margin and padding settings of the section to create the desired spacing and alignment on your page.

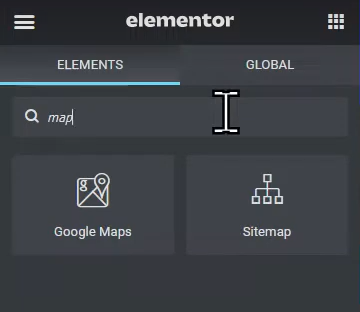
Step 3: Search for and Add the Google Maps Widget
In the Elementor widget search bar, type “maps” and locate the “Google Maps” widget. The Google Maps widget allows you to integrate Google Maps into your Elementor-designed page.
Drag and drop the Google Maps widget into the section you created in the previous step.
Step 4: Configure the Google Maps Widget
In the widget settings panel, you will find options to customize the map location and appearance. Enter the desired address or coordinates in the location field. You can also customize other settings such as zoom level, map type, and map height to match your preferences.
Take some time to explore the available options and adjust them according to your specific needs. This will allow you to create a customized and visually appealing Google Map.

Step 5: Update the Changes
Once you have configured the settings for the Google Maps widget, click on the “Update” button to save the changes you made in the Elementor editor.
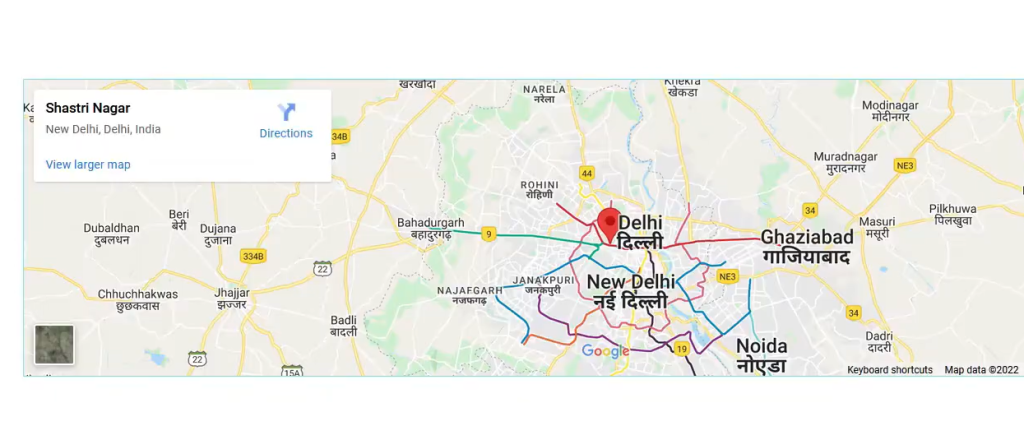
Step 6: Preview the Page
To see the Google Map on the front end, click on the “Preview” button. You will now be able to view the map with the specified location on your page. This will give you a better understanding of how the map will appear to your website, visitors.
Remember to save your page and publish it to make the changes live on your website.
That’s it! You have successfully inserted a Google Map in Elementor using the LM Tour plugin. Enjoy incorporating interactive and informative maps into your Elementor-designed pages!

0 Comments