

In this tutorial, we will explore how to add image choices to your forms using the Gravity Forms plugin. By incorporating images as choices, you can enhance the visual appeal and interactivity of your forms. Let’s get started with this amazing tutorial!
You can also watch the video tutorial:
Having said that, let’s move on to the steps on How To Add Image Choices In Gravity Forms In WordPress .
Step 1: Create a New Form:
- Hover over “Forms” in the WordPress dashboard and click on “New Form.”
- Click on “Add New” to create a new form.
- Provide a title and optionally add a form description.
- Click on “Create Form” to proceed to the form builder.

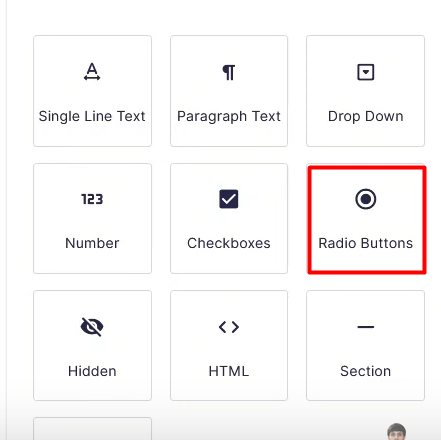
Step 2: Add the Radio Button Field:
- In the form builder area, locate the “Radio Buttons” field and drag it onto the form builder.
- Click on the field to access its settings.
- Edit the field label to describe the purpose of the choices.
Step 3: Upload and Add Image Choices:
- Open the media library or an image uploader tool alongside the form builder.
- Click on the field to configure its settings.
- Begin uploading the images you want to use as choices by clicking on the respective buttons in the media library or uploader.
- Once an image is uploaded, copy its URL.
- Return to the form builder and paste the image URL into the appropriate choice field.
- Repeat this process for each image choice, pasting the respective URLs and assigning values to them.

Step 4: Save the Form:
- After adding the image choices, click on the “Save Form” button at the top to save your changes.

Step 5: Embed the Form on a Page:
- Create a new page by hovering over “Pages” and selecting “Add New.”
- Provide a title for the page and click on “Create.”
- Once redirected to the page editor, click on the “Add Form” button.
- Select the form you created from the list and insert it into the page.
- Publish the page to make it live on your website.

Step 6: Preview the Form:
- Click on the “View Page” button or visit the page from the front end of your website.
- You will see the form with the added image choices displayed.
- Test the form by making a selection from the image choices.

Conclusion:
Congratulations! You have successfully learned how to add image choices to your forms using the Gravity Forms plugin. By following the steps outlined in this tutorial, you can create visually appealing and interactive forms that engage your website visitors. Use this functionality to gather user input in a more engaging and intuitive manner. Enjoy the benefits of adding images to your contact forms and enhance the overall user experience on your WordPress website.

0 Comments