

Contact Form 7 is a popular WordPress plugin that allows you to create and manage contact forms on your website. Adding a file upload field to your form enables users to attach files and documents when submitting the form. In this tutorial, we will guide you through the process of adding a file upload field in Contact Form 7.
You can also watch the video tutorial:
Having said that, let’s move on to the steps on How To Add File Upload Field In Contact Form 7 In WordPress.
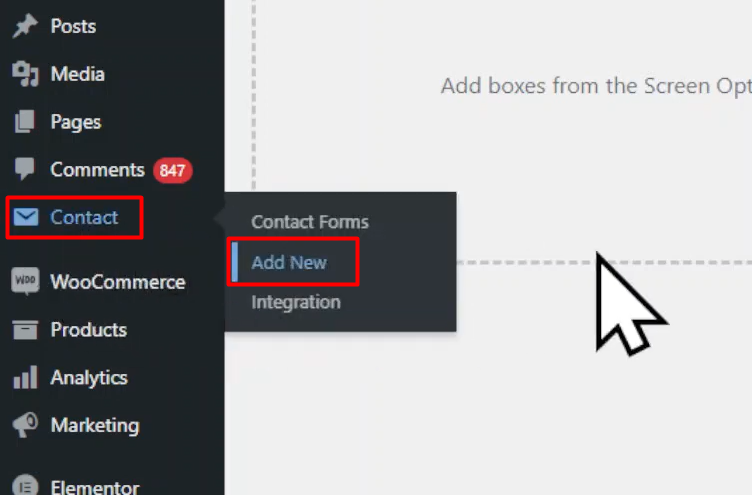
Step 1: Accessing Contact Form 7
- Log in to your WordPress dashboard.
- Hover over “Contact” in the sidebar and click on “Add New.” Alternatively, select an existing contact form to add the file upload field to.
Step 2: Configuring the Form Fields
- In the form builder area, you will find default fields that Contact Form 7 provides.
- If you do not need any of the default fields, click on the “Remove” button next to each field to remove them.

Step 3: Adding the File Upload Field
- To add a file upload field, locate the “File” tag among the available tags.
- Click on the “File” tag, which will open a pop-up window with various field settings.
- Configure the settings according to your needs. You can make the field mandatory by checking the corresponding box.
- Specify the file size limit and the accepted file types.
- Once you have configured the settings, click on the “Insert Tag” button to add the file upload field to your form.

Step 4: Saving the Form
- Save the form to apply the changes. You will see the form shortcode displayed.

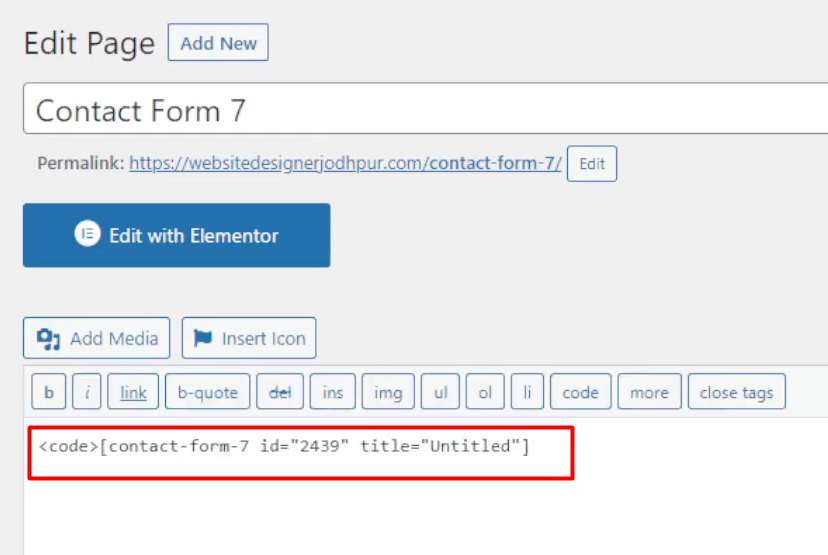
Step 5: Embedding the Form
- Copy the generated form shortcode provided by Contact Form 7.
- Go to the page where you want to embed the form and edit it.
- Replace the existing shortcode with the copied shortcode.
- Save or update the page to apply the changes.
Step 6: Testing the Form
- Visit the page where you embedded the form.
- You will now see the file upload field displayed on the form.
- Users will be able to select a file to upload and submit it through the form.

Conclusion: By following these steps, you can easily add a file upload field to your contact form in Contact Form 7. This feature allows users to attach files and documents when submitting the form, making it convenient for you to receive resumes, images, or other types of files. Be sure to set the appropriate file size limit and specify the accepted file types to ensure smooth form submission. Contact Form 7 provides various customization options, enabling you to create forms tailored to your specific requirements.

0 Comments