

Adding custom fonts to Elementor can greatly enhance the typography of your website, allowing you to create a more unique and personalized design. By following a few simple steps, you can easily upload and apply custom fonts in Elementor, giving your website a distinct visual identity. In this step-by-step guide, we will walk you through the process of adding custom fonts to Elementor.
You can also watch the video tutorial:
Step 1: Access the WordPress Dashboard
Start by accessing the WordPress dashboard of your website. Enter your login credentials and navigate to the dashboard.
Step 2: Navigate to Custom Fonts in Elementor
Hover over the “Elementor” tab in the dashboard menu and click on “Custom Fonts.” This will take you to the custom fonts settings in Elementor.

Step 3: Add a New Custom Font
Once you are in the custom font settings, click on the “Add New” button to begin adding a new custom font.

Step 4: Provide Font Details
In the font details section, give your font a name. This name will be used to identify the font within Elementor.

Step 5: Add Font Variations
After naming the font, click on the “Add New Variation” button. This will allow you to upload the font files for different font formats.

Step 6: Upload Font Files
Upload the font files for your custom font. Elementor supports various font file formats such as WOFF, WOFF2, TTF, SVG, and EOT. It is recommended to upload multiple font files to ensure compatibility across different browsers.

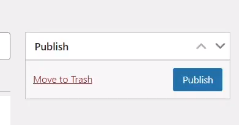
Step 7: Publish the Custom Font
Once you have uploaded the font files, click on the “Publish” button to save the custom font.
Step 8: Apply the Custom Font
To use the custom font in a specific widget, access the Elementor editor for the page or post where you want to apply the font.
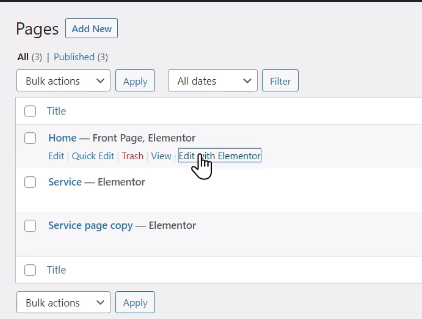
Step 9: Edit the Widget
Click on the widget that contains text to edit it. This will open the widget’s editing options.
Step 10: Select the Custom Font
Select the “Style” tab within the editing options. Under the typography controls, search for your custom font by typing its name in the font selection field.

Step 11: View the Custom Font Applied
Once you select the custom font, you will see it applied to the text within the widget. This allows you to create a more unique and visually appealing typography style that aligns with your brand or design concept.

Conclusion:
By following these simple steps, you can easily add custom fonts to Elementor and apply them to the text within your website’s widgets. Custom fonts provide you with the flexibility to create a distinct visual identity for your website, enhancing the overall design and user experience. Experiment with different font styles and combinations to find the perfect typography that reflects your brand and engages your audience. With Elementor’s custom font feature, you can elevate the typography of your website and make a lasting impression.

0 Comments