

In this tutorial, we will guide you through the process of adding columns in Elementor. Follow the steps below to get started.
Having said that, let’s move on to the steps on How To Add Columns In Elementor.
Step 1: Access Elementor Editor
Open your Elementor website and enter editor mode. This is where you can make changes to your website’s design.
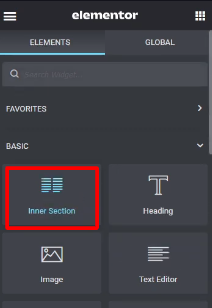
Step 2: Add an Inner Section Widget
To create a section with columns, you will first need to add an Inner Section widget. Drag and drop the Inner Section widget onto the desired area of your page. By default, an inner section comes with two columns.
Step 3: Adjust the Columns
To add or remove columns within the Inner Section widget, right-click on the handle icon located between the columns. A context menu will appear, allowing you to duplicate columns, add new columns, or delete existing ones. Use this option to customize the number of columns in your section.
Alternatively, you can also add columns by creating a row first. Click on the plus sign icon to open the Elementor panel and select the Row structure that suits your needs. Once the row is created, right-click on the handle icon of a column within the row and duplicate it to add more columns.

Step 4: Customize the Columns
Now that you have added the desired number of columns, you can start dropping various widgets into each column to populate them with content. Explore the Elementor panel to find widgets that suit your business needs and drag them into the respective columns. You can add text, images, videos, buttons, and other elements to each column individually.
Step 5: Update the Page
Once you have added the desired widgets and made any necessary content adjustments, click on the “Update” button to save your changes.
By following these steps, you can easily add columns to your Elementor website. Columns allow you to structure your content in a visually appealing and organized manner, enhancing the overall design of your pages.
We hope you found this video tutorial helpful. If you have any further questions or need additional assistance, please feel free to reach out to us.

0 Comments