

Forminator Forms is a popular WordPress plugin that allows you to create and manage forms on your website. In this tutorial, we will walk you through the step-by-step process of adding a website field to a form using the Forminator Forms plugin. With this added functionality, users can conveniently enter their website URLs when submitting the form. Let’s get started!
You can also watch the video tutorial:
Having said that, let’s move on to the steps on How To Add A Website URL Field In The Forminator Forms In WordPress.
Step 1: Access the Forminator Plugin
- Login to your WordPress admin dashboard.
- Locate the Forminator plugin in the sidebar menu and click on “Forms.”

Step 2: Choose a Form to Edit
- In the Forminator Forms page, you can either create a new form by clicking on the respective button or edit an existing form.
- For this tutorial, we will be editing an existing form.

Step 3: Access the Form Builder
- Once you are in the Form Builder area, you will see various options to customize your form.
- Click on the “Insert Fields” button to add a new field to the form.
Step 4: Insert the Website Field
- In the available field options, find and select the “Website” field type.
- Click on the “Insert Field” button to add it to your form.

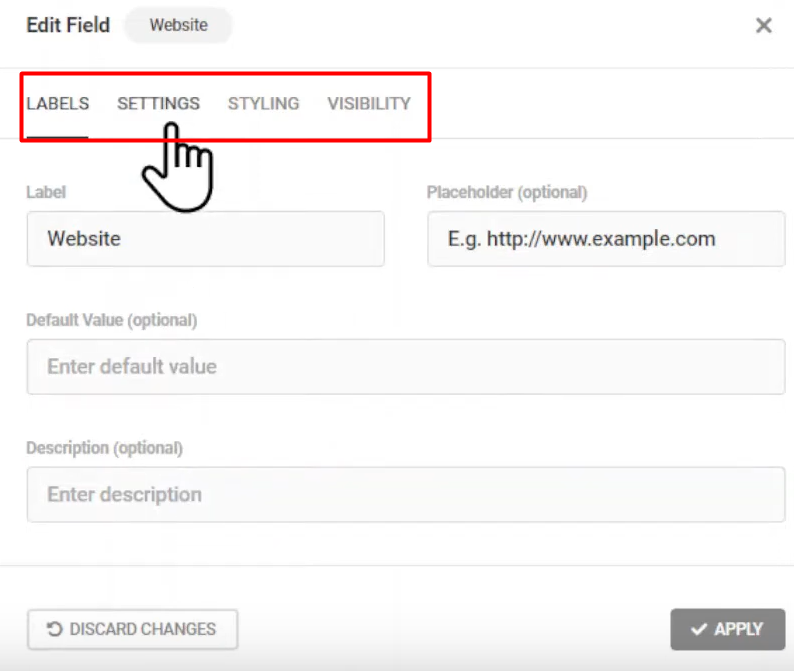
Step 5: Configure the Field Settings
- In the field settings, you can customize the label name, and placeholder text, and add a description if necessary.
- If you want to set a default value for the field, you can enter it in the “Default Value” field.
Step 6: Adjust the Field Settings
- Move to the “Settings” tab to further customize the website field.
- You can make the field optional or mandatory by selecting the appropriate option.
- Additionally, you have the option to validate the field to ensure that the entered value is a valid website URL.
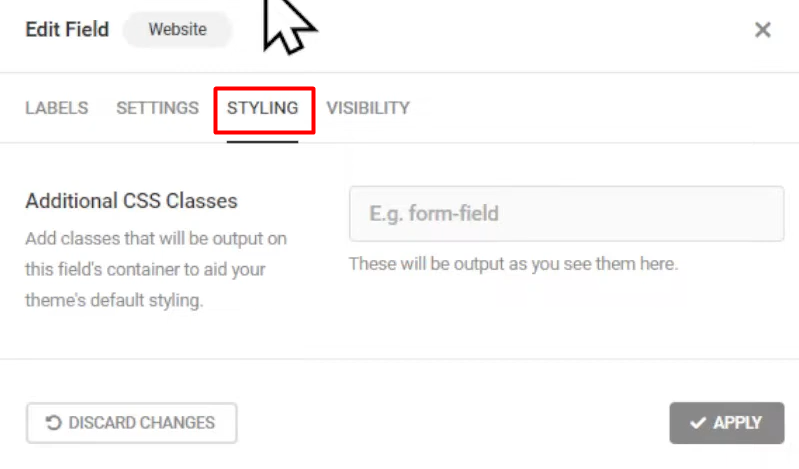
Step 7: Style the Field (Optional)
- If you want to style the website field according to your preferences, go to the “Styling” tab.
- Here, you can add custom CSS to modify the appearance of the field.
Step 8: Control Field Visibility (Optional)
- Under the “Visibility” tab, you can define the conditions for the field’s visibility based on your specific requirements.
Step 9: Save and Publish the Form
- Once you have finished configuring the website field settings, click on the “Apply” button to save the changes.
- To publish the form on your website, click on the “Publish” button.

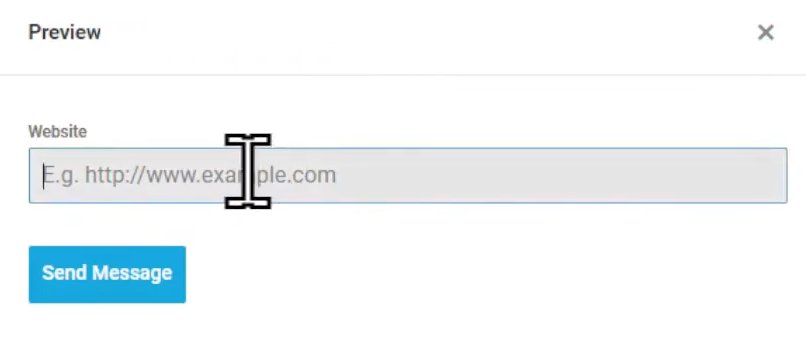
Step 10: Preview the Form
- You can now preview the form to see the added website field in action.
- The website field will be displayed, allowing users to enter their website URLs when filling out the form.
Conclusion: By following these simple steps, you have successfully added a website field to a form using the Forminator Forms plugin for WordPress. This feature enables users to conveniently provide their website URLs, adding flexibility and functionality to your forms. Take advantage of the Forminator Forms plugin to enhance your website’s user experience and gather the necessary information from your visitors effortlessly.

0 Comments