

In this tutorial, we will guide you through the process of adding a name field to your Forminator Forms in WordPress. The name field allows users to input their names, providing a personalized touch to your forms. Let’s get started with the step-by-step instructions.
You can also watch the video tutorial:
Having said that, let’s move on to the steps on How To Add A Name Field In Forminator Forms In WordPress.
Step 1: Install and Activate the Forminator Forms Plugin:
- Ensure that you have successfully installed and activated the Forminator Forms plugin on your WordPress website.
Step 2: Access Forminator Forms:
- Log in to your WordPress dashboard.
- In the sidebar, hover over “Forminator” and click on “Forms”.

Step 3: Create a New Form:
- In the Forminator Forms window, click on the “Create” button located at the top.
- Choose a suitable form template or select the “Blank” template.
- Provide a title for your form and click on the “Create” button.

Step 4: Insert the Name Field:
To add a field, you have two options:
a. Use the drag-and-drop feature to select and drag the desired fields into your form.
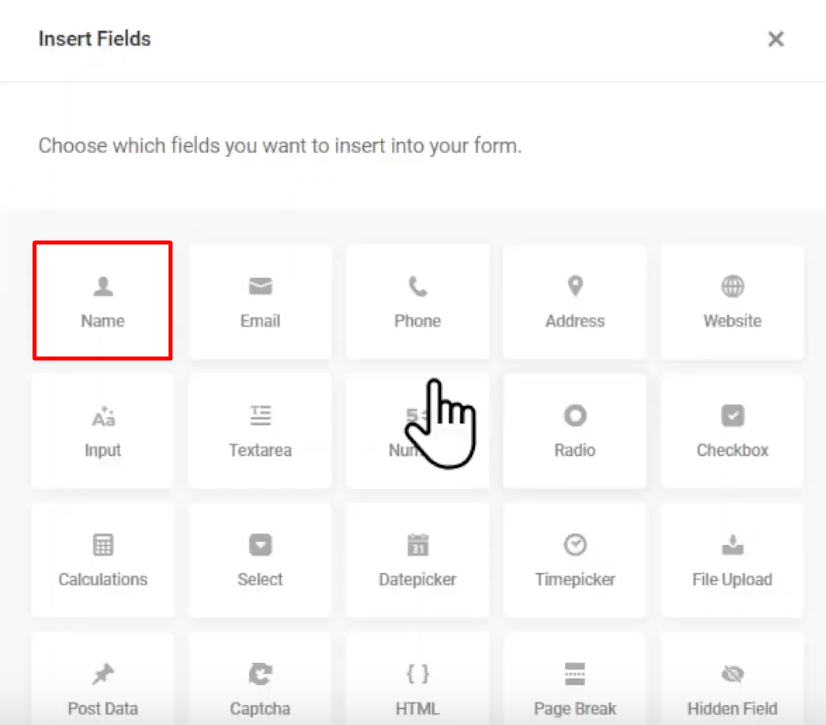
- b. Click on the “Insert Fields” button and choose the “Name” field from the popup.
Step 5: Configure Field Settings:
- In the field settings popup, you can customize the label name, description, and other settings according to your preferences.
- Explore the various tabs, such as “Settings,” “Styling,” and “Visibility,” to make further modifications if needed.
- Under the “Settings” tab, you can make the name field mandatory or optional, depending on your requirements.
- Utilize the “Styling” tab to add custom CSS and style the field according to your website’s design.
- Adjust the visibility settings under the “Visibility” tab, if necessary.
- Once you have made the desired changes, click on the “Apply” button to save the settings.

Step 6: Publish and Preview the Form:
- Click on the “Publish” button to make your form live.
- To preview the form, click on the “Preview” button at the top.
- Test the name field by entering a sample name in the form and submitting it.
- Verify the success message or any other messages displayed after form submission.

Congratulations! You have successfully added a name field to your Forminator Forms in WordPress. By following these steps, you can create personalized forms that collect user names. Customize the field settings, labels, and design to align with your specific requirements. Forminator Forms provides a user-friendly interface to create and manage forms effortlessly. Experiment with different field options and explore the plugin’s features to enhance your WordPress website’s contact forms.

0 Comments