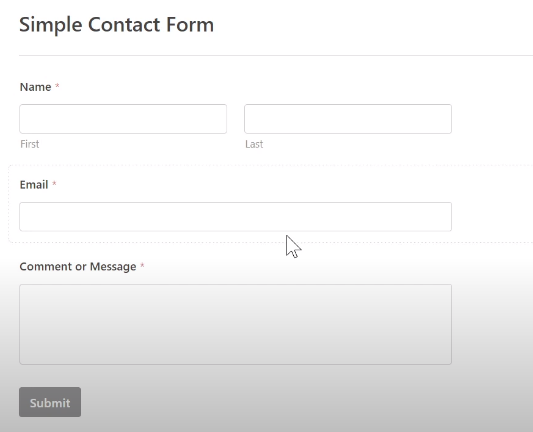
In this tutorial, we will guide you through the process of installing and using the Custom Captcha add-on in WPForms. The Custom Captcha add-on provides an additional layer of security to your forms by incorporating a Captcha field. By following these step-by-step instructions, you can effectively protect your forms from spam submissions and enhance your website’s overall security. Let’s get started!
You can also watch the video tutorial:
Having said that, let’s move on to the steps on how To Use And Install The Custom Captcha Addon In WPForms.
Step 1: Install the Add-On
- Hover over WPForms in your WordPress admin dashboard and click on “Add-ons” in the menu.
- Search for the “Custom Captcha” add-on from the available list of add-ons.
- Click on “Install Add-on” to install it. The add-on will be automatically activated upon installation.

Step 2: Create a Form
- To configure the add-on, you need to create a form. Click on “All Forms” and then click on “Add New” to create a new form.
- Give your form a name and select a template that suits your requirements.

Step 3: Add Custom Captcha Field
- Locate the custom captcha field under the “Fancy Fields” section in the form builder.
- Since you have activated the Custom Captcha add-on, this field will be available.
- Drag and drop the custom captcha field to the desired location in the form builder area.

Step 4: Configure the Field
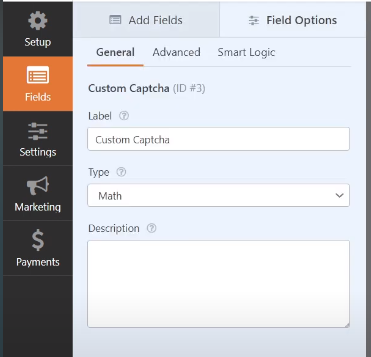
- Click on the custom captcha field to access its configuration options.
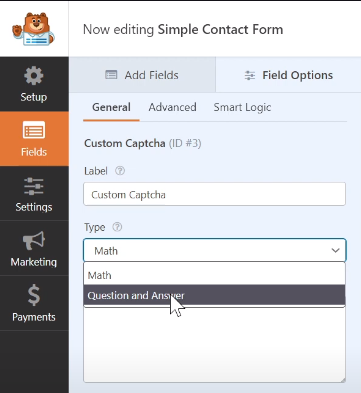
- You have two options for the captcha type: Math and Question-Answer.
- Choose the type that best suits your preferences and requirements.

Step 5: Math Captcha
- If you choose the math captcha type, WPForms will generate random mathematical equations for users to solve before submitting the form.
- This helps verify that the user is human and not a spam bot.

Step 6: Question-Answer Captcha
- If you select the question-answer captcha type, you can create custom questions and answers for users to answer.
- Click on “Add Another Question” to add multiple questions and their corresponding answers.
- Customize the questions and answers to suit your needs.
- You can also edit the label name for the captcha field.

Step 7: Save the Configuration
- Once you have customized the captcha field and its options, click on the save button to save the changes made.

Step 8: Preview the Form
- To see the Custom Captcha add-on in action, preview the form.
- Fill in the form as a test entry and observe that users need to enter the correct answer to the captcha question in order to successfully submit the form.

Conclusion: Congratulations! You have successfully installed and utilized the Custom Captcha add-on in WPForms. By following these steps, you have enhanced the security of your forms by incorporating a captcha field. This helps protect your forms from spam submissions and ensures that users are genuine human visitors. The Custom Captcha add-on is a valuable tool in maintaining a secure and reliable website.


0 Comments