In this tutorial, you will learn how to customize the drop-down field in WP Forms. Follow these steps to get started.
You can also watch the video tutorial:
Step 1: Install and Activate WP Forms Plugin
Make sure you have installed and activated the WP Forms plugin. If you haven’t done so, you can find the plugin using the affiliate link provided in the video description.
Step 2: Create a New Form
Hover over WP Forms and click on “Add New” to create a new form. Give your form a name that identifies its purpose.

Step 3: Select the Blank Template
Choose the blank template or select a template that suits your requirements from the available options.

Step 4: Add the Drop-Down Field
In the form builder, drag and drop the drop-down field to the desired position on your form.

Step 5: Customize the Drop-Down Field
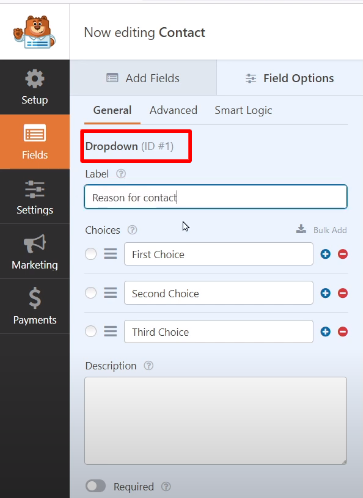
Click on the drop-down field to access its settings. Edit the label name to provide clear instructions or context for the field.

Step 6: Add Drop-Down Menu Items
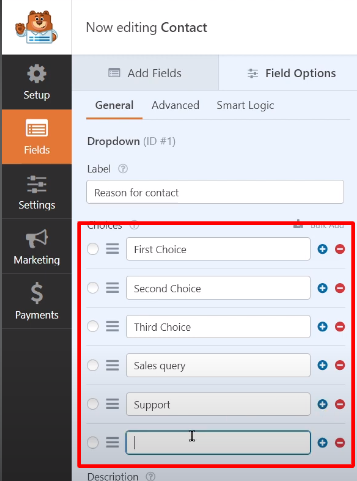
To add menu items in bulk, click on the “Add Choices in Bulk” button. Enter the choices you want to include, each on a new line. You can also add choices individually by clicking on the plus (+) button and entering the choice name manually.

Step 7: Save the Changes
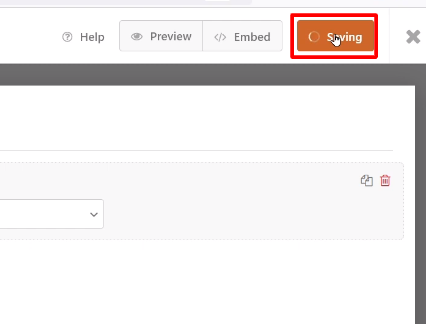
Once you have added the drop-down menu items, save the changes to your form.

Step 8: Preview the Form
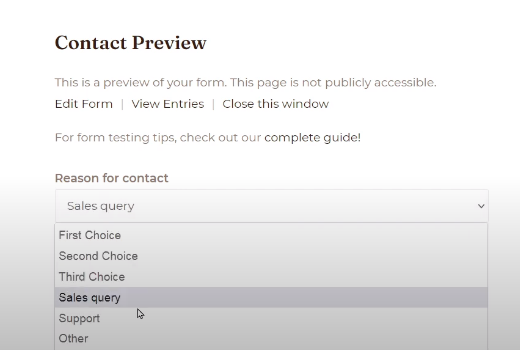
Visit the form to see the changes you made. You will now see the various menu items under the drop-down field. The drop-down field has been successfully customized according to your preferences.

By following these steps, you can easily customize the drop-down field in WP Forms. This allows you to create dynamic and interactive forms that cater to the specific needs of your users.
Remember to save your form after making any changes to ensure that the settings are applied correctly.
That’s it! You have now learned how to customize the drop-down field in WP Forms. Enjoy creating personalized and user-friendly forms using this feature.


0 Comments