In this video, you will learn how to customize the columns for form entries in WP Forms. Here’s a step-by-step guide.
Having said that, let’s move on to the steps on How To Customize Columns For Form Entries WPForms.
Step 1: Create a Form and Make a Test Entry
- First, make sure you have already created a form. If not, create a form using WP Forms.
- Make a test entry in the form to have some data to work with.

Step 2: Customize the Columns for Form Entries
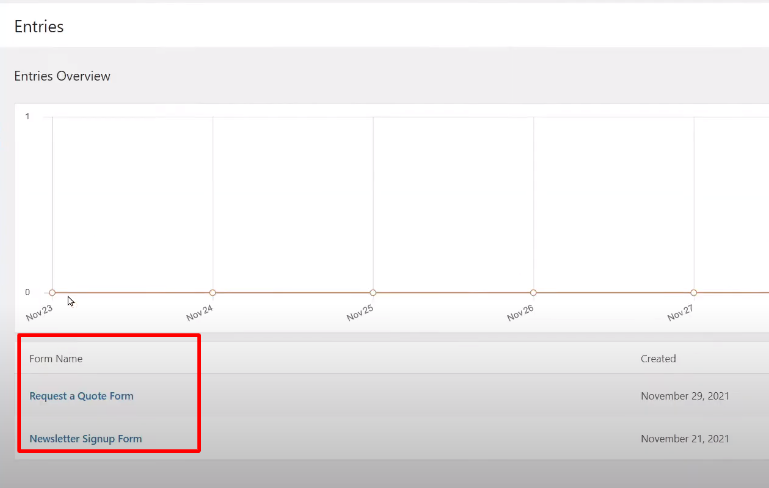
- Click on “Entries” under WP Forms to view the form entries.
- Select the form for which you want to customize the columns.
- Locate the “Settings” button and click on it to access the settings for column customization.

Step 3: Select Fields to Show in the Entries List
- In the settings, you will see a list of available fields for the form entries.
- Select the fields that you want to show as columns in the entries list.
- You can select fields by checking the checkboxes next to their names.
- You can choose fields from the form builder or even custom fields.
- Select the fields one by one according to your preferences.

Step 4: Save and Refresh
- Once you have selected the desired fields, click on the “Save” button to save the column settings.
- Refresh the entries page to see the updated columns.
- The entries list will now display the selected fields as columns.

By customizing the columns for form entries, you can choose which fields are displayed in the entries list, allowing you to focus on the specific information you need. This can help you easily view and analyze the submitted data.
Feel free to customize the columns further or make changes to your form as needed. WP Forms provides flexibility and options to tailor the form entries management experience to your requirements.
That’s it! You have successfully learned how to customize the columns for form entries in WP Forms.


0 Comments