When using WP Forms in WordPress, it’s important to ensure that the validation messages displayed to users are clear and relevant. These messages help guide users when filling out forms and provide feedback if any errors occur. In this tutorial, we will explore how to change the WP Forms validation message in WordPress to customize it according to your specific needs.
You can also watch the video tutorial:
You can also follow these steps.
Step 1: Create a Form
- Hover over WP Forms in the WordPress dashboard and click on “Add New.”
- Provide a name for your form, such as “Simple Contact Form,” and choose a suitable template.
- Customize the form by adding or modifying fields to meet your requirements.
- Save the changes to your form.

Step 2: Insert the Form into a Page
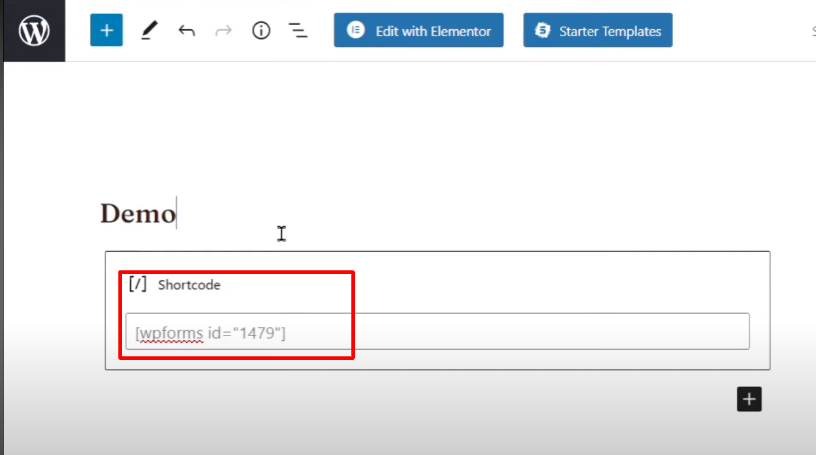
- Copy the shortcode for your form.
- Navigate to the “Pages” section in the WordPress dashboard and click on “Add New.”
- Paste the shortcode into the editor.
- Give the page a unique title and ensure you are in the code editor.
- Click on the “Publish” button to save the page.

Step 3: Test the Form
- Visit the page where you inserted the form.
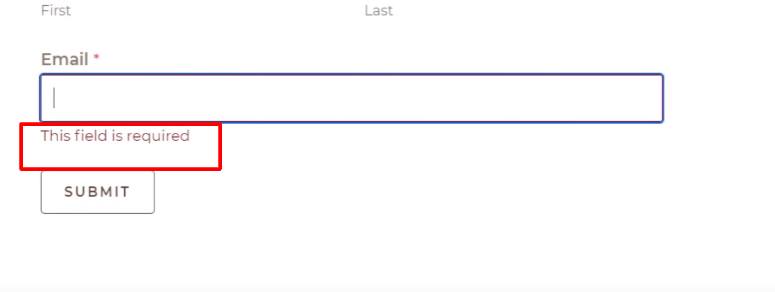
- Fill out the form, leaving any required fields empty.
- Observe the default validation message, which typically states, “The Field Can’t be Empty.”

Step 4: Change the Validation Message
- Click on “Settings” under WP Forms in the WordPress dashboard.
- Go to the “Validation” tab.
- Edit the validation message to your desired text.
- Click on “Save Settings” to apply the changes.

Step 5: Test the Updated Validation Message
- Refresh the page where the form is inserted.
- Fill out the form, leaving a required field empty.
- Notice that the validation message has been changed to your customized message.

Conclusion: Changing the WP Forms validation message in WordPress is a simple process that allows you to tailor the messages displayed to users when they encounter form validation errors. By providing clear and relevant feedback, you can enhance the user experience and ensure that users can easily complete and submit forms on your website. Remember to save your form settings after making changes to the validation message and test the form to ensure everything works as expected.


0 Comments