In this tutorial, we will guide you on how to add a divider in Ninja Forms. A divider is a useful element that visually separates sections or fields within a form. Let’s go through the process step by step.
You can also watch the video tutorial:
Having said that, let’s move on to the steps on How To Add A Divider In Ninja Forms
Step 1: Access the Ninja Forms Dashboard
- Hover over “Ninja Forms” in the WordPress admin dashboard.
- Click on “Dashboard” to access the Ninja Forms settings.

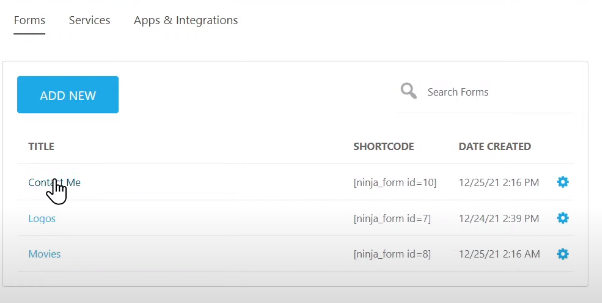
Step 2: Select or Create a Form
- Choose the form in which you want to add a divider from the list or create a new form according to your requirements.

Step 3: Add the Divider Field
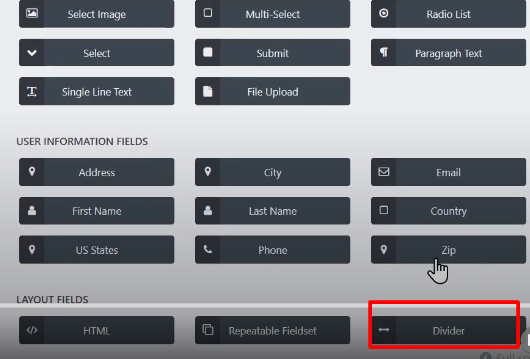
- To add a divider, click on the plus icon located within the form builder area.
- Look for the “Divider” field under the “Layout Fields” section.
- Drag and drop the divider field to the desired position within the form layout.

Step 4: Customize the Divider Field (optional)
- Click on the divider field to view its options.
- Here, you can make adjustments to the divider’s appearance, such as the width, height, color, style, and alignment.
- Modify these settings based on your design preferences or the overall look of your form.
Step 5: Publish the Form
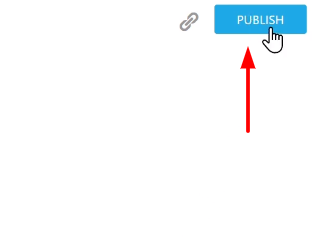
- Once you have finished adding the divider field and any other desired changes to the form, click on the “Publish” button to save and publish the form.
- Provide a name for your form to easily identify it in your form list.

Step 6: Preview the Form
- Utilize the preview function to see how the form appears to users.
- Verify that the divider is displaying correctly and effectively separating the sections or fields within the form.

Conclusion: By following these steps, you can successfully incorporate a divider into your Ninja Forms. The divider field helps improve the visual organization and readability of your forms, making it easier for users to navigate and understand the form structure.
Dividers are particularly useful when you have multiple sections or groups of fields in a form, as they provide a clear visual distinction between those sections.
Now you know how to add a divider in Ninja Forms. Take advantage of this feature to enhance the appearance and structure of your forms, creating a more intuitive and user-friendly experience.
That wraps up this tutorial on adding a divider in Ninja Forms. We hope you found it helpful and are excited to utilize this feature to enhance the organization and visual appeal of your forms. Enjoy the benefits of using dividers in your Ninja Forms!


0 Comments