Adding file upload functionality to your WordPress contact forms can be beneficial for collecting files and attachments from users. In this video tutorial, we will guide you through the steps to add file upload functionality to your contact forms using the Formidable Forms plugin.
You can also watch the video tutorial:
Having said that, let’s move on to the steps on How To Set File Upload Functionality in Contact Forms in WordPress.
Step 1: Install and Activate the Formidable Forms Plugin
First, make sure you have successfully installed and activated the Formidable Forms plugin on your WordPress website. This plugin provides advanced form-building capabilities and will enable you to add file upload fields to your forms.
Step 2: Access Formidable Forms
From your WordPress dashboard, locate the “Formidable” tab in the sidebar and click on it. This will take you to the Formidable Forms window, where you can manage and create forms.

Step 3: Edit an Existing Form or Create a New Form
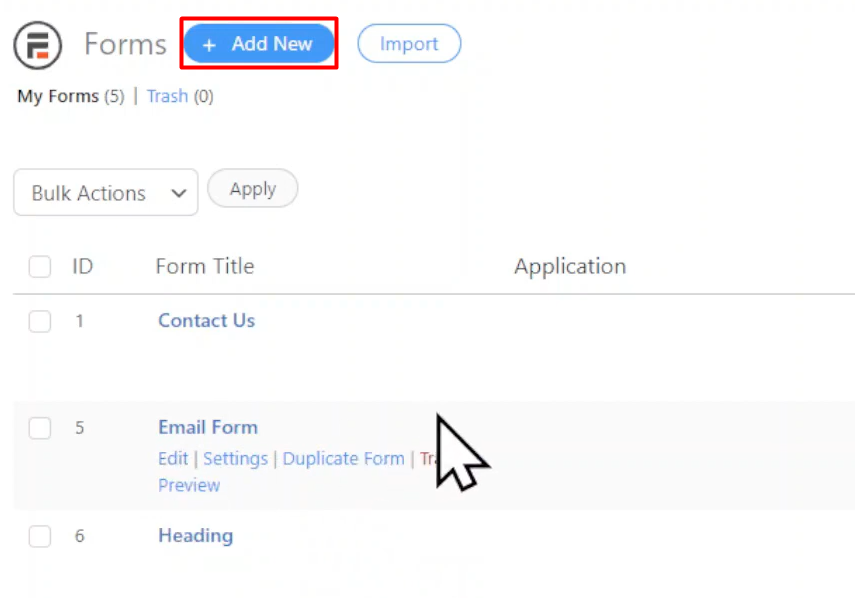
You have the option to either edit an existing form or create a new one. For this tutorial, we will edit an existing form. Select the form you want to modify and click on the “Edit” button.

Step 4: Add the File Upload Field
In the form builder window, you will find the “File Upload” field under the “Advanced Fields” section. Drag and drop the file upload field onto the form builder where you want it to appear.
If there are any unnecessary fields in the form, you can delete them by selecting and removing them from the builder area.

Step 5: Configure the File Upload Field
Click on the file upload field to configure its settings. You can rename the field label to indicate that users should upload a file. If you want to make this field mandatory, check the “Required” box.
Scrolling down, you can configure various mode-related settings. Select the allowed file types that users can upload. You can choose from common file types such as images, documents, audio files, and more.
Customize other options according to your requirements. The Formidable Forms plugin offers flexibility in setting visibility, label positions, and other advanced settings.

Step 6: Update and Preview the Form
Once you have configured the file upload field and made any other necessary changes to the form, click on the “Update” button to save your modifications.
To see how the file upload functionality works, preview the form on a blank page. You will notice that the file upload field is now visible and ready for use.
Make a test entry by selecting a file and uploading it through the form. You will see that the file gets uploaded successfully.

Congratulations! You have now added file upload functionality to your WordPress contact forms using the Formidable Forms plugin. Users will be able to upload files when submitting the form.
Feel free to further customize the form or add other fields as needed to create the desired contact form for your website. The Formidable Forms plugin offers a range of features to meet your specific requirements.
If you have any further questions or need assistance, please don’t hesitate to ask.


0 Comments