In this tutorial, I will guide you through the process of moving Ninja Forms to WP Forms.
Follow these steps to successfully transfer your contact forms:
Step 1: Access WP Forms Tools
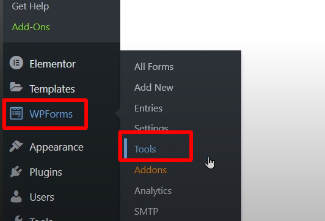
Hover over “WP Forms” in the WordPress admin dashboard and click on “Tools.” This section provides tools for importing forms from other plugins.

Step 2: Choose the Plugin to Import From
In the tools section, select the plugin from which you want to move your forms. In this case, select “Ninja Forms” and click on “Import.”

Step 3: Select and Import Forms
All the forms created using Ninja Forms will be listed on the screen. Choose the forms you want to import into WP Forms by selecting the checkboxes next to them. After making your selection, click on “Import.”

Step 4: Confirmation and Import Success
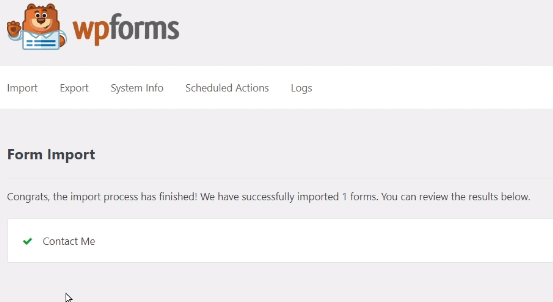
Once the import process is complete, you will see a success message indicating that the forms have been imported successfully.

Step 5: Insert the Form into Pages
To display the imported form on a page, go to “All Forms” under WP Forms and copy the new shortcode generated for the imported form.
Next, hover over “Pages” in the WordPress admin dashboard and click on “Add New.” Give the page a title and paste the copied shortcode into the content area. Finally, click on the “Publish” button.

Step 6: View and Test the Form
You can now view the page to see the imported form in action. Ensure that all form elements and functionality are working correctly.

By following these steps, you can seamlessly move your contact forms from Ninja Forms to WP Forms. This allows you to take advantage of the features and capabilities provided by WP Forms for managing your forms.
Read More: How To Verify Your WPForm License Key


0 Comments